How to sew stretch fabrics (like jersey)
WHAT IS STRETCH FABRIC?
There are essentially two types of stretch fabric:
Woven fabric with a small percentage stretch thanks to an elastic fibre blended into the fibre before it’s woven. Think stretchy jeans, which are made from a mixture of cotton threads and elastane threads in a percentage ratio. When cotton fibre is blended with elastane the cloth becomes stretchy. This type of stretch fabric sews up like a regular woven fabric, and has a limited amount of stretchiness, usually up to 5%.
Knit fabric which is created by creating interlocking loops of stitches. Most people and fabric shops refer to this type of fabric as “jersey” even though that’s just one kind of knit. Makes it a little more complicated right?! So if you’ve ever seen a guide to sewing jersey, or wondered yourself “what is jersey?” here’s your answer! Jersey is where cotton threads are knitted together and the looping of the threads creates a natural stretch in the fabric. Jersey is the most common kind of stretch fabric.
If elastane is mixed into a knit fabric it can create extreme stretchiness, especially good in sportswear! Similarly if viscose aka rayon is mixed into the knit the fabric can be more fluid. The beauty of knit fabric is that it doesn’t fray (unravel) so you can choose to leave your raw edges unfinished. If you’ve never used stretch fabric before, try one of the stable varieties like Ponte Roma or cotton interlock first which have limited stretch and are a little easier to handle.
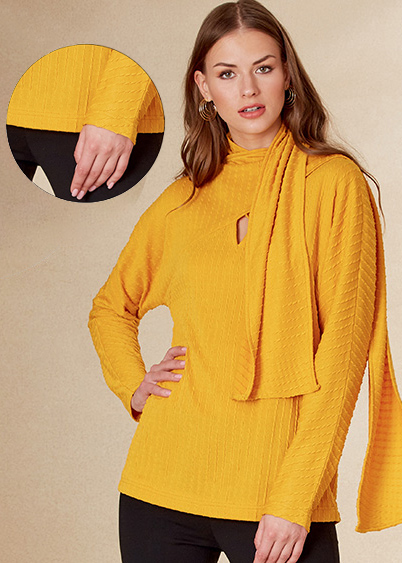
Don’t know what to make? Think, T-shirts, stretchy dresses, sportswear and lounge wear!
PATTERN AND FABRIC CHOICE
Patterns made for stretch fabrics are usually designed to be figure hugging, so do check your measurements before cutting out the tissue and make sure you pick the pattern size that corresponds most closely with your measurements. Remember with multi-size patterns it is also easier to cut from one size to another for bust/waist/hip.
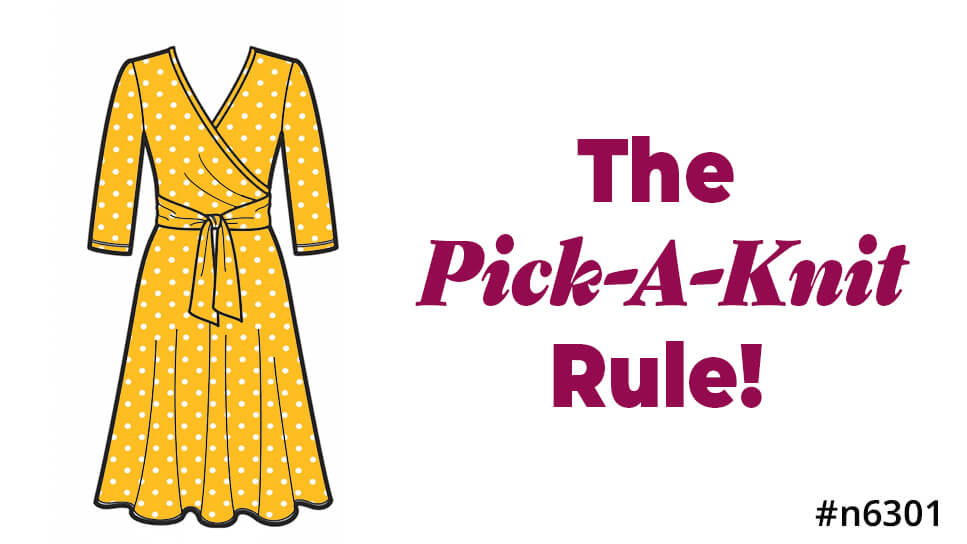
Our patterns for stretch fabrics will have a stretch guide on the envelope back so you can check the fabric you are using has the required stretch in it. This is called the Pick-A-Knit Rule – Learn more with our handy guide. If your chosen fabric doesn’t have as much stretch as needed, consider making a larger size. Or vice versa!
SEWING TIPS
Stretch stitch settings
Since stretch wovens sew up just like regular woven fabric our tips in this post are focused on knits! You can learn to sew jersey and other stretch fabrics quickly as you don’t really need any fancy gear (although they can make things a little easier or tidier). Let’s look at the options for you to pick from!
Ballpoint or Universal needles
The quickest and easiest option for sewing super stretchy fabric on your regular sewing machine is to install a ballpoint needle. This has a special tip without a sharp point so it avoids cutting the loops of knit fabric. Because if a loop is cut it’ll unravel your fabric a little and cause a hole. Not ideal. Ballpoint needles come in lots of sizes depending on whether you’re sewing a lightweight or heavy fabric, just like sharp needles. A universal needle can work well on many stretch and woven fabrics.
Use a classic zigzag stitch for construction with a stitch setting of 2 length and 2.5 width. This stitch is ideal as it stretches along with the fabric, creating flexible seams – very helpful when getting in and out of your garments. When hemming you can fold up the allowance then line your zigzag up to cover the raw fabric edge, to create a neat finish.
Twin needle stitch
For a slightly more polished hem finish you might choose a twin needle. This is a way to replicate the twin lines of stitching you often see on shop bought clothes but
Fit your machine with a twin needle and second thread spool following your machine’s instruction manual. Twin-needle stitching is more tricky as you have to stitch on the RS of the fabric. The bobbin thread creates a zigzag effect on the underside and covers the raw edges of the hem so you’ll want to get this as accurate as possible. If your fabric is really unruly, you can tack or pin it in place. You may want to use an erasable pen to mark the stitching line on the front of the fabric or use the tacking line as a guide.
Overcasting or overlocking on a regular sewing machine
Some machines have a special foot to use with a co-ordinating triangular stitch which looks a bit like mountains and valleys. Line up the edges of the fabric with the gap in the foot and use the protruding plastic part to guide the fabric. The stitch created will look like a crude overlocker stitch but as it’s made with a single needle it can take quite a while to stitch.
Using an Overocker aka Serger
These specialist machines aren’t necessary for your sewing room but they do come in handy for many sewing projects. You can use an overlocker to a) finish/neaten the raw edges of the seams after sewing, or b) construct robust seams. They’re fast and fun to use, plus they have a knife to trim seam allowances saving you even more time. We best point out that top-stitching will still need to be done on a regular machine.

Tools and supplies
Cutting out
Ensure you use nice sharp pins that won’t leave holes in your fabric. You can actually get ballpoint pins but then you have to remember to keep them separate from your regular set! A rotary cutter and large self healing mat can be very helpful for quickly cutting out projects. You hold the fabric and pattern pieces in place with pattern weights and then use your rotary cutter to cut around the shapes without pulling the fabric out of shape. I recommend a 45mm cutter for dressmaking as it’s big enough to cut quickly but still manoeuvrable around neckline and armhole curves.
Using a walking foot
This is a great tool for sewing all sorts of difficult to feed fabric – including stretch fabric if you don’t have an overlocker. To attach this foot, remove the ‘ankle’ holding the presser foot. The hook on the left of the walking foot then wraps around the shank and is screwed in place and the hook/lever on the right of the foot is placed over the needle screw bar as you attach the foot. It is this lever that makes the feed dogs on the foot go up and down in time with the feed dogs on the machine, which helps ensure that both layers of fabric are fed evenly and together.
Seams – When using a sewing machine, sew any horizontal seams that go around the body with a stretch stitch (which looks like a bolt of lightning) or a small zigzag so that the seam will stretch with you. Reduce the stitch width to 2-2.5 and the length to 1.6. Vertical seams do not necessarily have to be stitched with a stretch stitch as they don’t need to stretch. A straight stitch with 2.5-2.8 length is fine.
Seam support
Sometimes a stretchy fabric will need additional support on areas that you don’t want to stretch such as shoulders or front neck edge. Stabilise shoulders with a strip of edge tape or cotton tape stitched into the seam as you sew the shoulders. If sewing a garment with raglan sleeves, you can also add a strip of bias cotton tape around the curve of the underarm seam. Clip into the fabric for a smooth curve, but not into the tape. For neck edges, fuse a strip of edge tape to the seam allowance butting up to the seamline. This will help prevent the neck edge stretching more than you actually want it to!
WANT TO LEARN MORE?
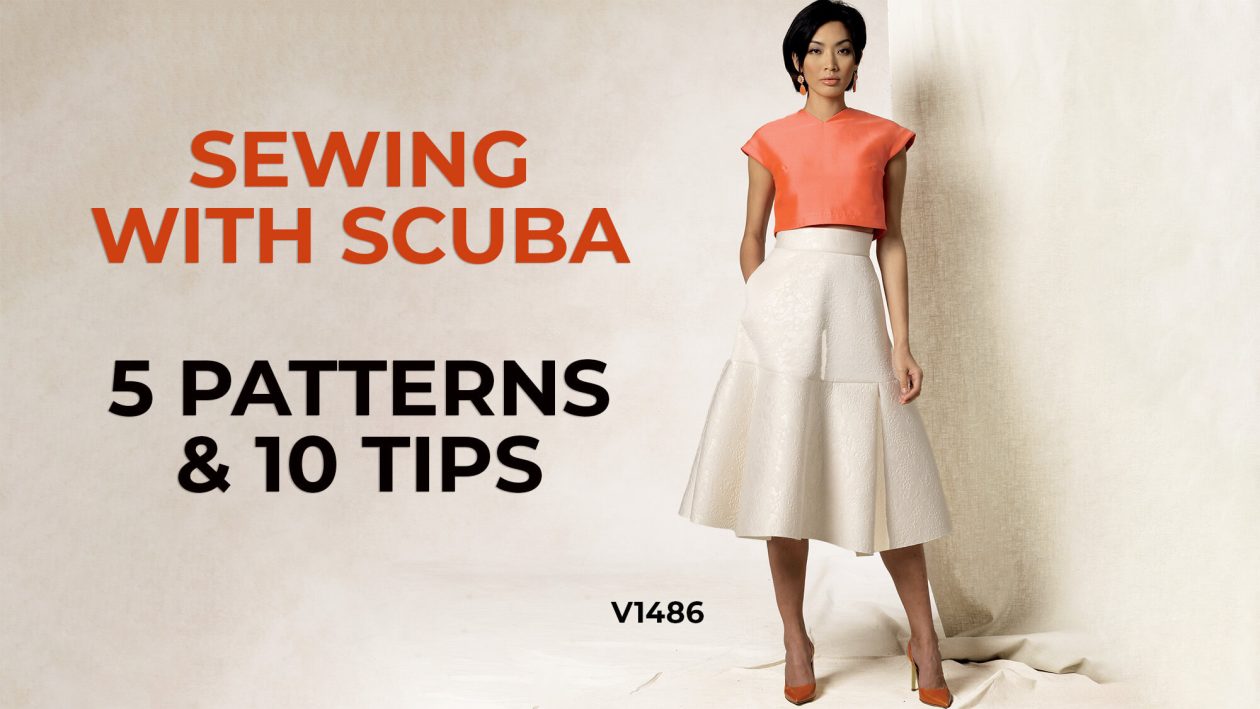
If you enjoyed this guide you might find our article on Sewing With Scuba helpful. It has extra tips and tricks for this unique stretch fabric.
Or take a look at our guide to matching stripes on a stretchy Breton t-shirt!
