Pattern matching stripes
CHOOSING A PATTERN
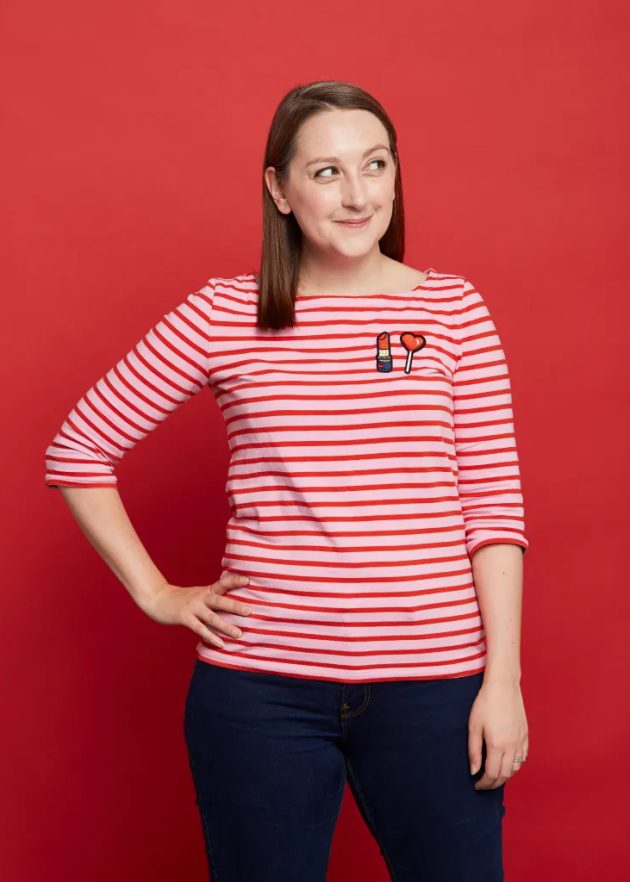
Sewing stripes is a fun technique to boost your sewing skills. You can sew stripes as wovens or stretch fabrics but the most common project for dipping your toe into stripe matching is a striped Breton Tee. I love sewing with striped jersey fabric and have made many versions of M7322 which is a great top suitable for knits and wovens. But we also have an amazing collection of tshirt patterns to try.
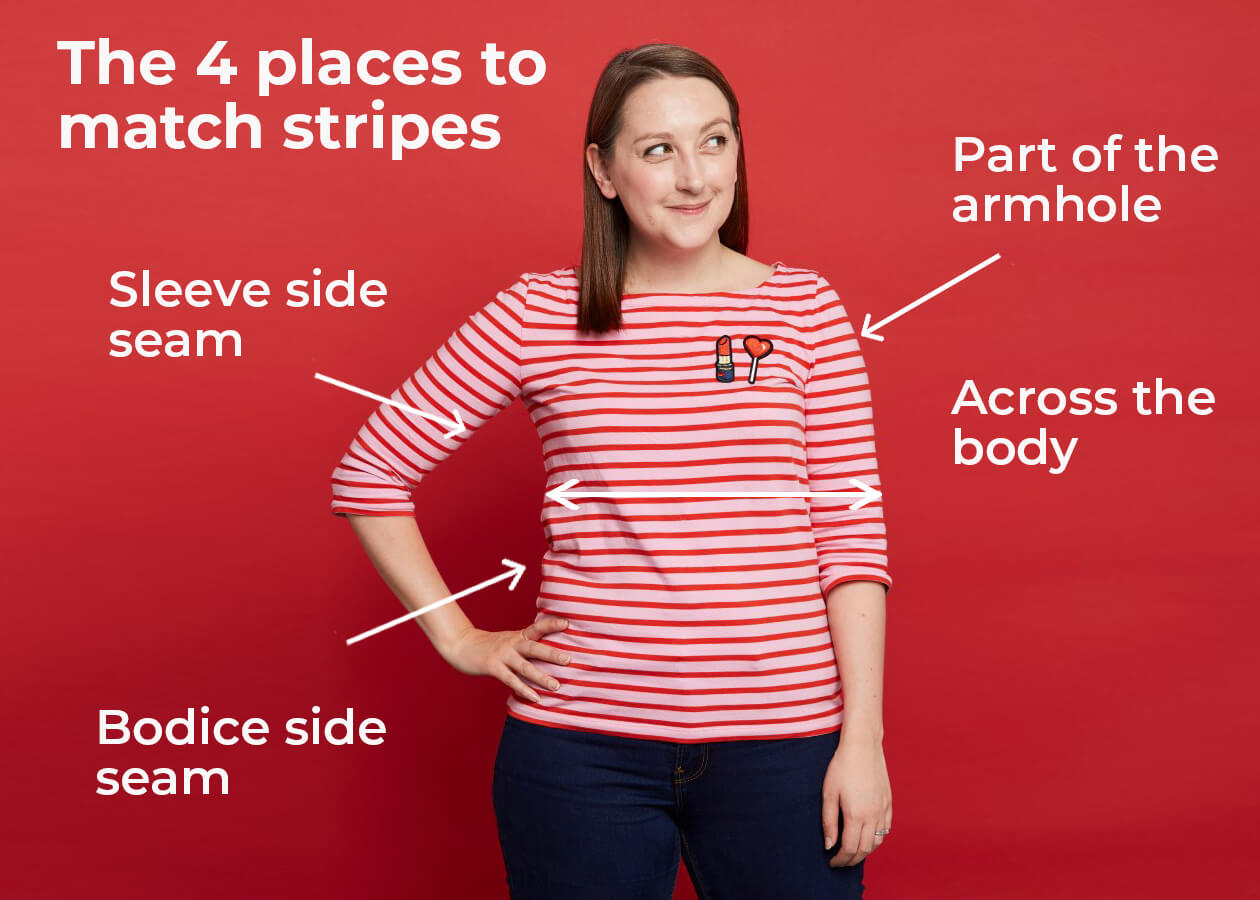
There are four possible places that stripes can match on a Tshirt:
- At the bodice side seams
- At the sleeve side seams
- Across the body and sleeves when your arms are by your sides
- Around part of the armhole
This image shows it a little more clearly.
If you would prefer to make a dress or skirt, consider the shape of the design. Straight skirts, rectangular gathered skirts and classic shift dresses will create a very neat stripe match at the side seams. A waist seam on these designs will be relatively straight and may use darts for fitting.
Any design with flared or circle skirts, or trapeze style dresses will make horizontal stripes appear curved as they travel towards the side seams and where they meet there will be the appearance of a slight chevron. A waist seam on these designs will be very curved and unlikely to use darts to fit.
You can of course play with stripe placement and try cutting a crossgrain striped fabric on the bias or vertically using the lengthwise grain for a skirt or part of a dress but this will make the fabric behave differently. Bias cut fabrics are very stretchy and prone to dropping. And the lengthwise grain often has less give than the crossgrain.
LAYING OUT YOUR FABRIC
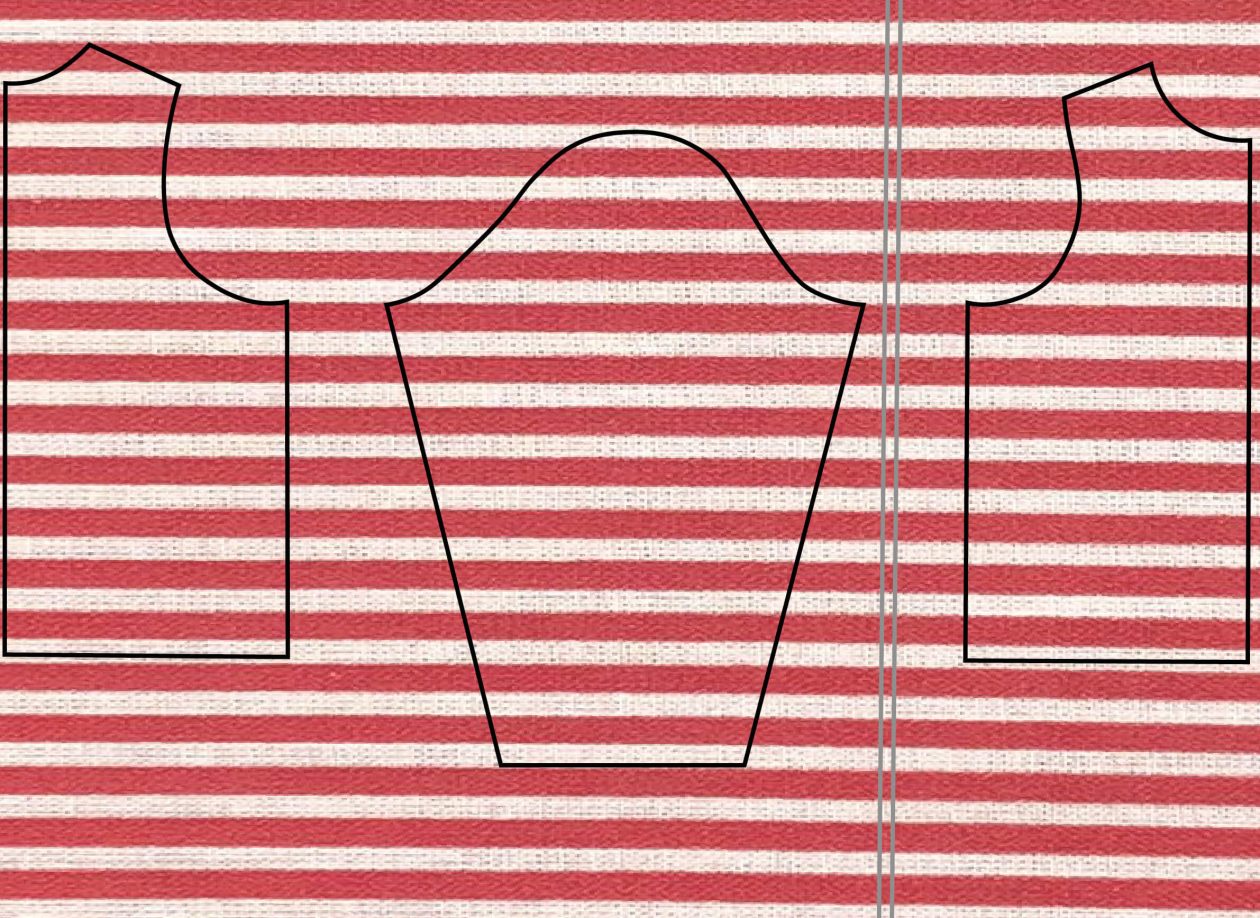
A t-shirt has a front and back bodice cut out on a folded edge. This means layplans will often tell you to arrange your fabric to have two folds. The selvedges will be in the middle or slightly off centre.
The important thing is making sure that the stripes on the top layer are exactly on top of the stripes on the bottom layer. Insert a pin along the edge of one stripe, then lift the fabric and check underneath that the pin is positioned along the same edge of the same stripe. If it’s not, reposition it. Do this on a few stripes, every few inches or so. Leave the pins in place while you lay out your pattern pieces.
PLACING YOUR PATTERN PIECES
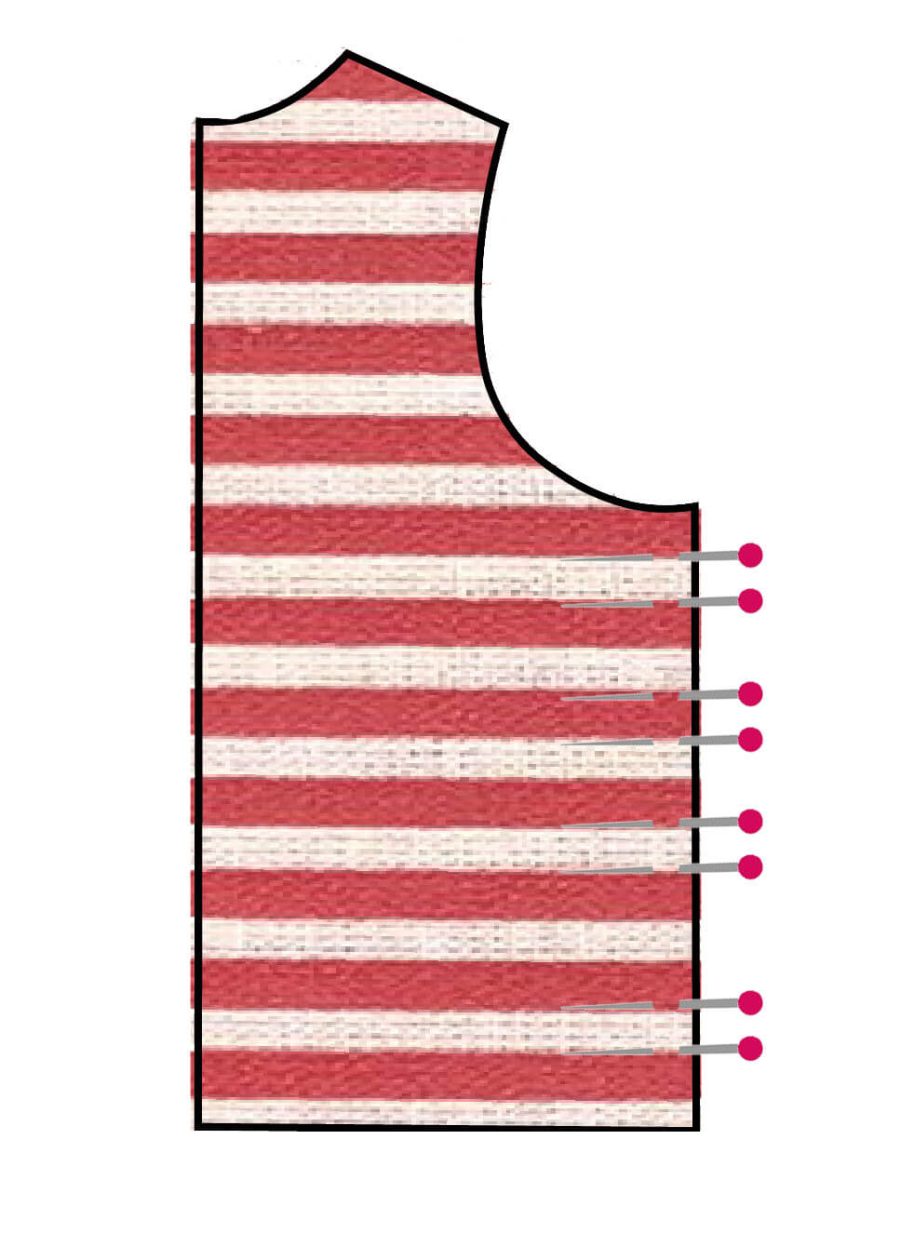
If you’re taking the time to match stripes, a key area to pay attention to is the side seams of your bodice and sleeves. When you pin the front bodice pattern piece to the fabric, line up the underarm point with the top or bottom of a stripe. Then replicate this position for your back bodice. Finally place the sleeve with both underam points on the same stripe as the bodices.
Our image shows this layout with all pieces placed at the top of a red stripe. If you can’t fit everything on the width of your fabic, you can place the pattern pieces underneath each other but need to find the same stripe position on the repeated stripes. If you have an irregular stripe repeat (eg multicoloured stripes in blue, red, green, or different size stripes) you need to examine the placement closely to ensure you will get a full match down the seams.
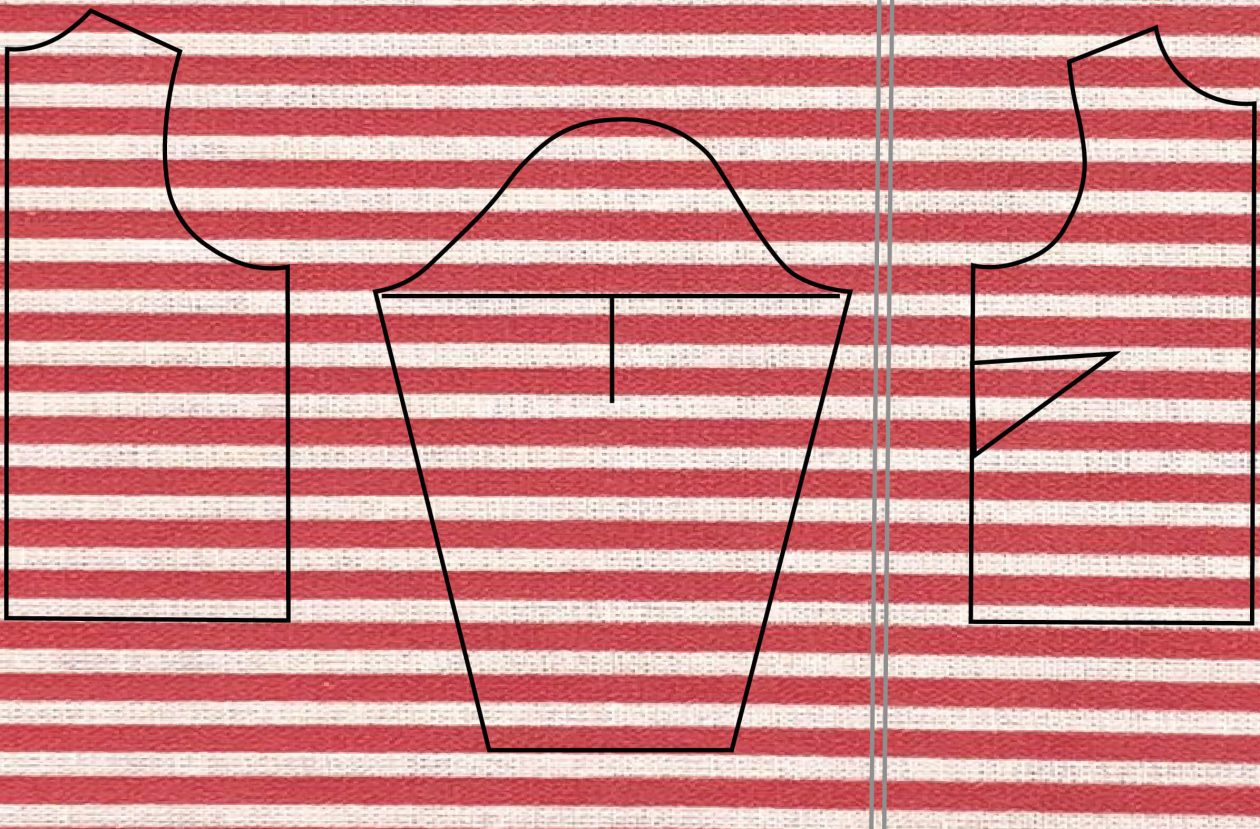
If you’re working with a pattern with a bust dart, commonly found on woven patterns but occasionally on knit patterns also, you will need to consider this as the dart will affect how your side seam matches. If you match from the underarm point the seam will only match up to the start of the dart.
Instead you’ll need to match from the bottom of the bodice upwards. This way the part of the seam that doesn’t match will be mostly hidden under your arm. This does make it trickier to achieve a match across the body with a sleeve, as mentioned in 3 of our list, but not impossible. If you’re making a short sleeve I’d recommend matching at the underarm. But if you are making a long sleeve, try this alternative method.
Measure down your bodice side seam from the underarm point to the upper dart leg and note the amount. Also note the stripe that the lower dart leg sits on. Next draw a horizontal line between the two underarm points of your sleeve and then measure down the centre of the sleeve from this line. Mark a point that matches the distance measured on the bodice. Position the sleeve on the fabric so the marked point sits on the same stripe as the lower dart leg. This means your sleeve will not partially match across the body at the armhole or the underarm but will achieve a match across the body, down the majority of the sleeve length.
PREPARING TO SEW
When you start pinning your fabric together ready to sew you should place pins at 90 degrees to the side seam to stop the fabric shifting as it moves under the machine. You should pin both the upper edges and lower edges of the stripes together if they are especially wide, which may mean quite a few pins. But this will ensure the stripe is flawlessly matched.
Remember you are matching the seamline NOT the raw edge. Your pin should enter the fabric at start of the seam allowance aka the line where you will be stitching. Remove the pins at the last minute as they approach the machine, working slowly and steadily.
This is especially important when you come to sew the armhole and sleeve cap. Mark the stitching line on your sleeve cap. With an evenly spaced stripe you should be able to manipulate the fabric to match the first few stripes of the front armhole starting at the underarm point. As you reach a quarter of the way around the armhole it will become impossible.
You might find it helpful to invest in a walking foot which ensures that slippery, stretchy and other tricky fabrics are fed evenly through your sewing machine, but with a bit of patience you should achieve a great finish.