Tissue Fit with Palmer/Pletsch Patterns
Palmer/Pletsch was created by Pati Palmer and Susan Pletsch in 1974 to self-publish their books. They were both sewing teachers who together, wrote books and designed sewing patterns. They were the first to assert that sewing could be “fun, fast and easy,” a phrase they coined in the early ’70s. Susan left the business in 1984 to pursue other projects.
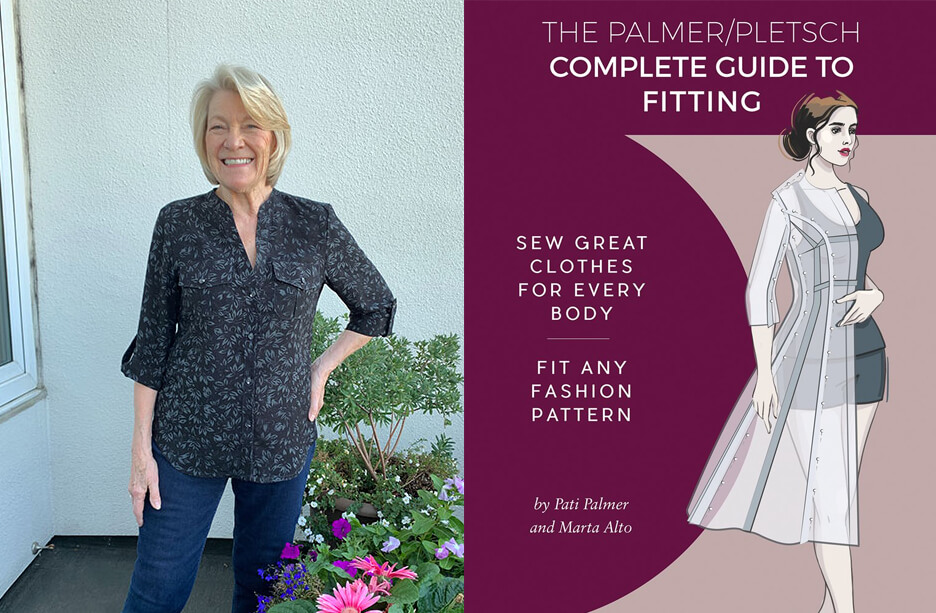
Pati Palmer is “the Fit Expert,” known for creating the Palmer/Pletsch tissue-fitting method, along with Marta Alto. Pati shares helpful insights into her patterns over on her blog, fitting and construction tips and includes versions of her patterns she’s made for herself.
Since 1980, Pati has designed and written instructions for 350 patterns for The McCall Pattern Company, starting with the now-legendary Pati Palmer/Susan Pletsch 8-hour blazer pattern that stunned the industry by selling one million copies the first year. Pati’s amazing designs are now under the Butterick brand.
Our Palmer/Pletsch patterns are unique in that the guide sheets include more than sewing, incorporating tips on fitting, design, and pro techniques. The patterns themselves have alteration lines printed on the tissue—all pattern improvements initiated by Pati. The tissue fitting method is at the heart of everything she teaches. We asked her to explain the process in her own words:

It’s very helpful to tissue-fit your pattern before cutting any fabric. This is the fit method we in all Palmer/Pletsch classes.
PREPARE YOUR TISSUE
- Press with a dry iron set on the Wool setting.
- Trim around the tissue outside the black cutting line.
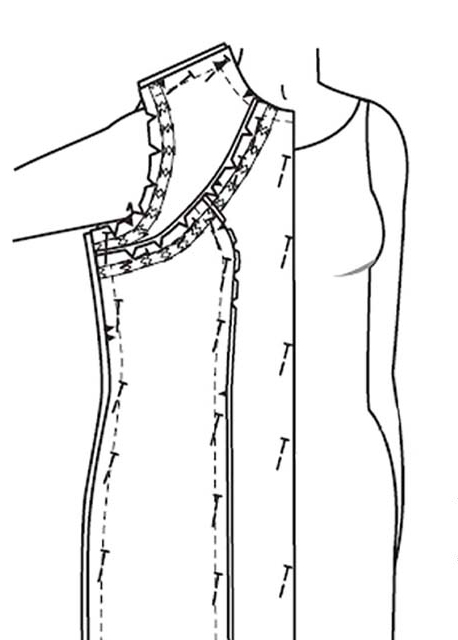
- With the tissue right side up, tape the following areas, inside the stitching line: armholes, any other all inside aka concave curves such as on princess seams need taping so you can clip them when pinning, and any concave curved areas where yokes are attached.
- Use small pieces of tape around the curves, lapping the short pieces. I recommend using 1/2″-wide (13mm) tape.
- Clip the curves to the stitching line in the taped areas. DO NOT CUT THE TAPE.
- Tug lightly on the tissue to see if it is taped securely without ripping your pattern piece.
The example shown is for a princess seam dress with a yoke so you can see the maximum amount of taping required. Garments with fewer design lines will be easy to prepare.

TRY ON THE TISSUE
- Next, pin the seams together creating half a garment and try it on. (A)
- Check the back width first. Why? Because the front won’t fit until you fix the back. If you have a broad back, the tissue/garment will be pulled to the back and be too tight at the bust. Most people are no more than 1/2″ (13mm) broader or narrower than average. (B)
- Use the adjustment line on the back pattern piece to add or remove the necessary amount. Cut and lap or spread as shown. (C)
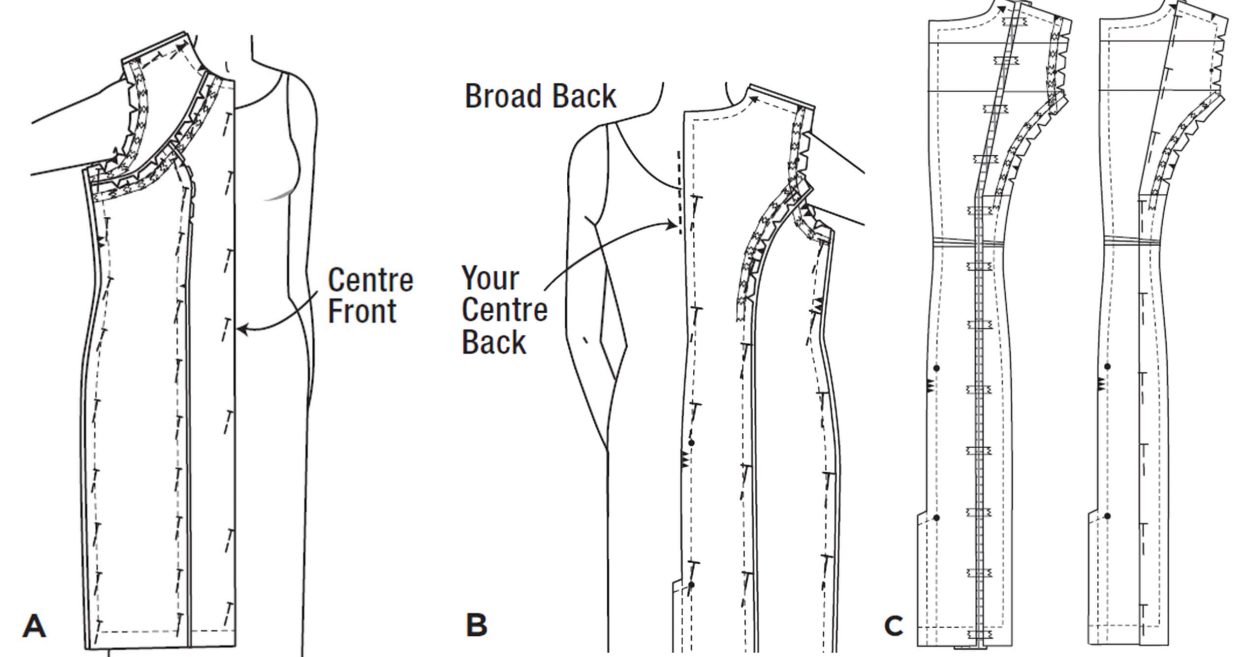
- After the back is adjusted, try on the tissue again and check the front.
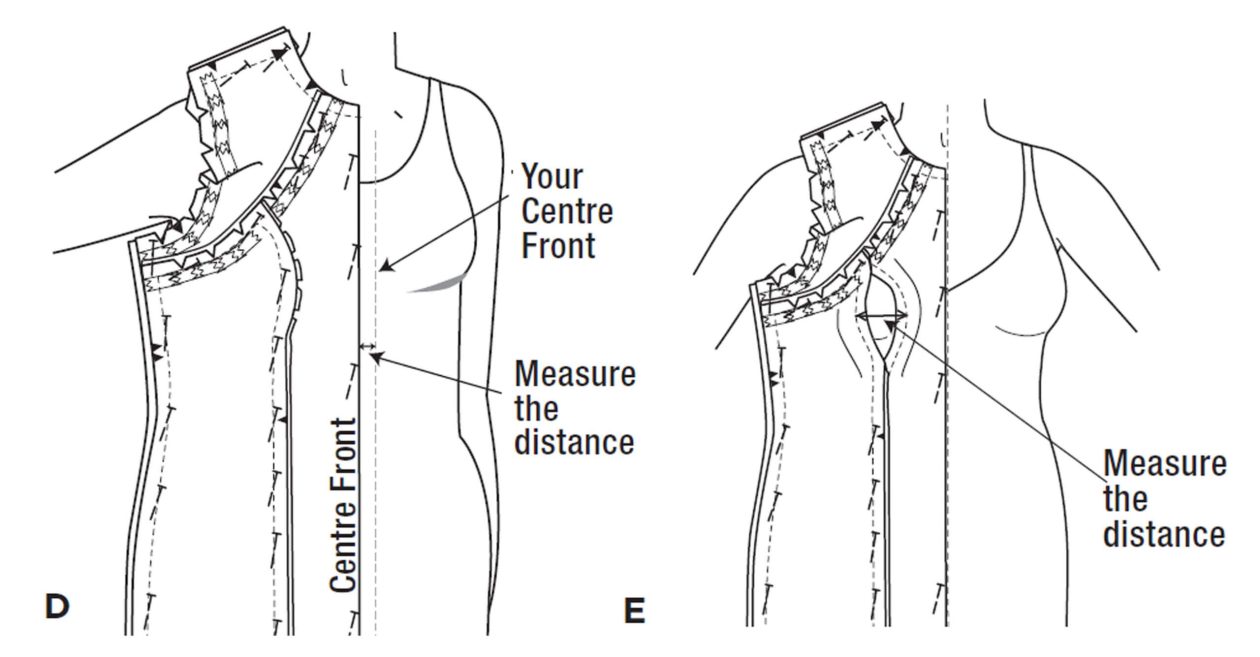
- Pin the centre back to your centre back. Does the centre front of the tissue meet the centre front of your body? (D). If not, unpin the seam over the bust until you can pin the centre front to your centre front.
- Measure the distance from seam to seam at the bust. (E) This is the amount you need to add.
REMEMBER! Don’t overfit the tissue.
Leave yourself some room for movement. It is better to err on the side of adding a little extra… you can always make minor corrections during stitching.
Now you’re ready to make some pattern alterations. My patterns include guidance on fitting topics such as full-bust adjustments, bust height, short or long waist, full waist and/or hips, high round back, sway back, flat derriere, and sleeve fullness.
When ready, pin the adjusted pattern pieces back together and try on. Accomplishing a good fit in the bust will make your garment look better and be more flattering to your figure. It’s well worth the time it takes to make the adjustments, and will become easier and faster as you apply these concepts to all your fashion sewing.
-
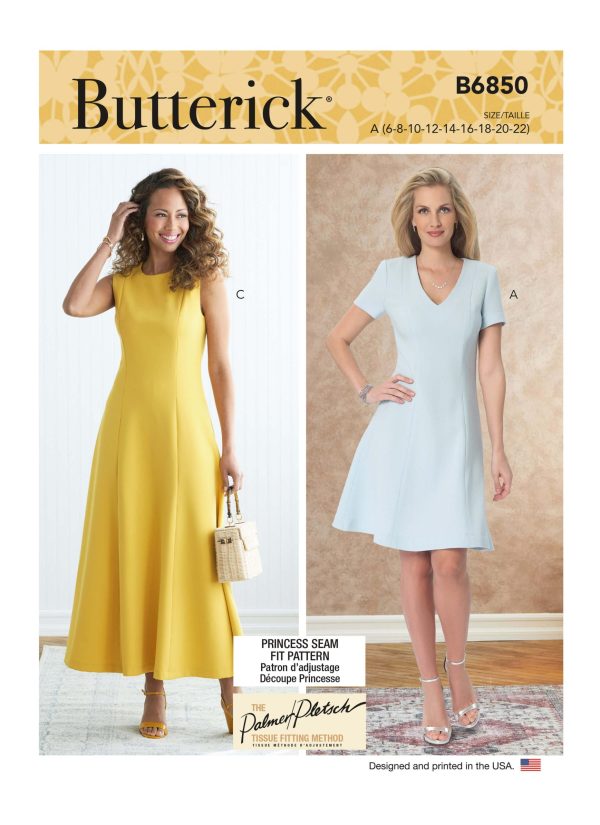
 Butterick Sewing Pattern B6850 Misses’ Jewel or V-Neck Fit & Flare Dresses Palmer/Pletsch
 -
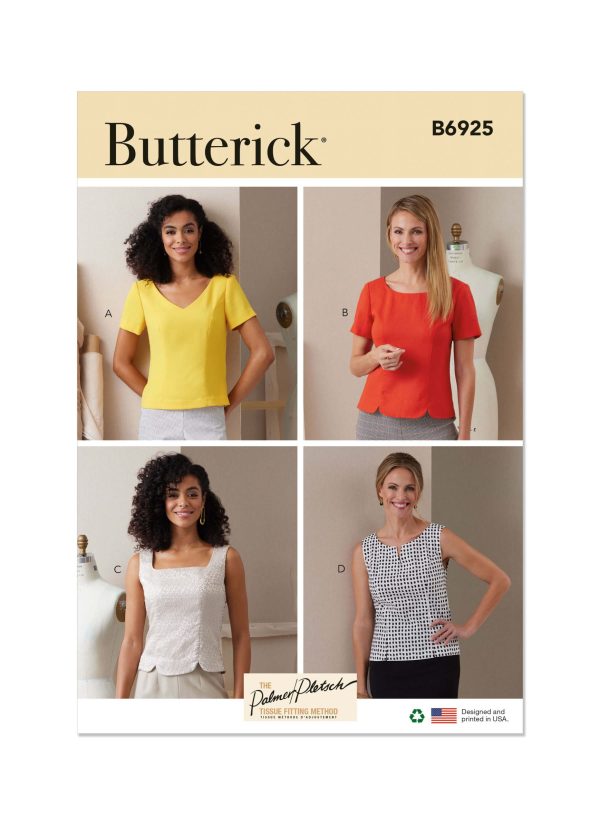
Butterick Sewing Pattern B6925 Misses’ Tops By Palmer/Pletsch
-
Butterick Sewing Pattern B6924 Misses’ Shirts By Palmer/Pletsch
-
Butterick Sewing Pattern B6966 Palmer Pletsch Misses’ Knit Tops and Trousers
-
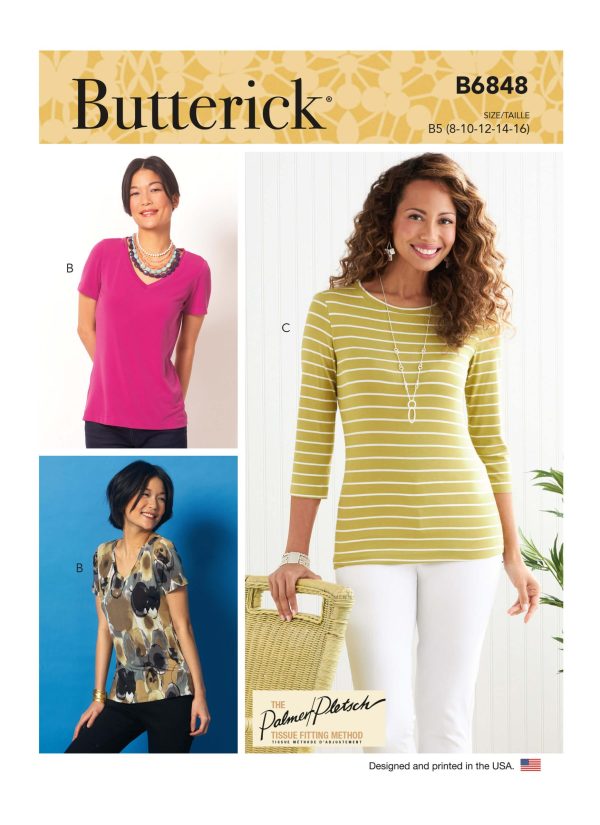
Butterick Sewing Pattern B6848 Misses’ T-Shirts & Tank Top Palmer/Pletsch
-
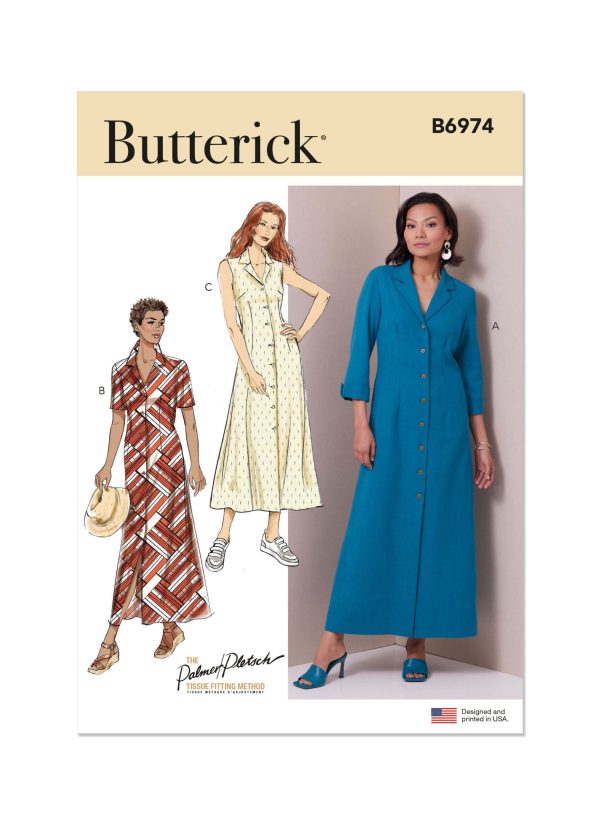
Butterick Sewing Pattern B6974 Misses’ Shirt Dress with Sleeve Variations by Palmer/Pletsch
-
Butterick Sewing Pattern B6856 Misses’ Shirt Palmer/Pletsch
-
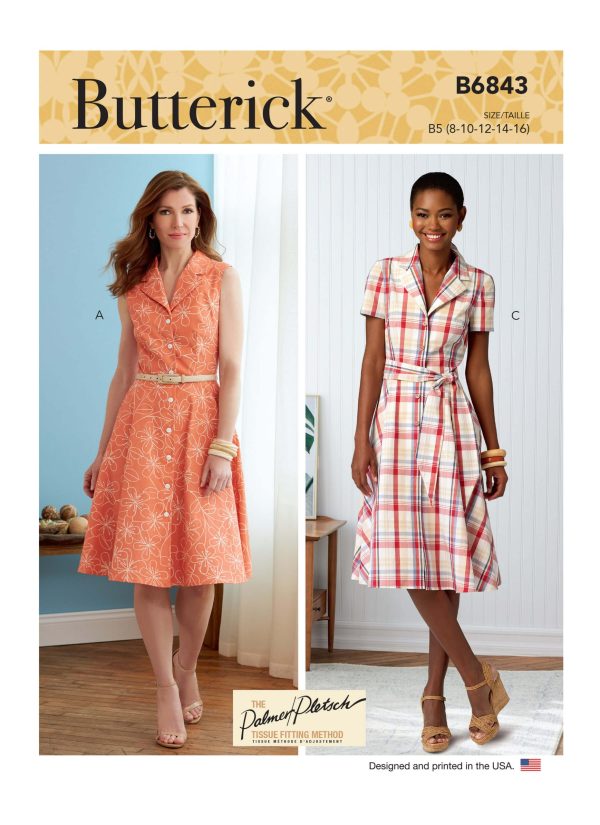
Butterick Sewing Pattern B6843 Misses’ Shirtdresses & Sash Palmer/Pletsch
-
Butterick Sewing Pattern B6852 Misses’ Button-Down Shirts With Collar, Sleeve & Hem Variations Palmer/Pletsch
-
Butterick Sewing Pattern B6944 Misses’ Trousers in Four Lengths by Palmer/Pletsch
-
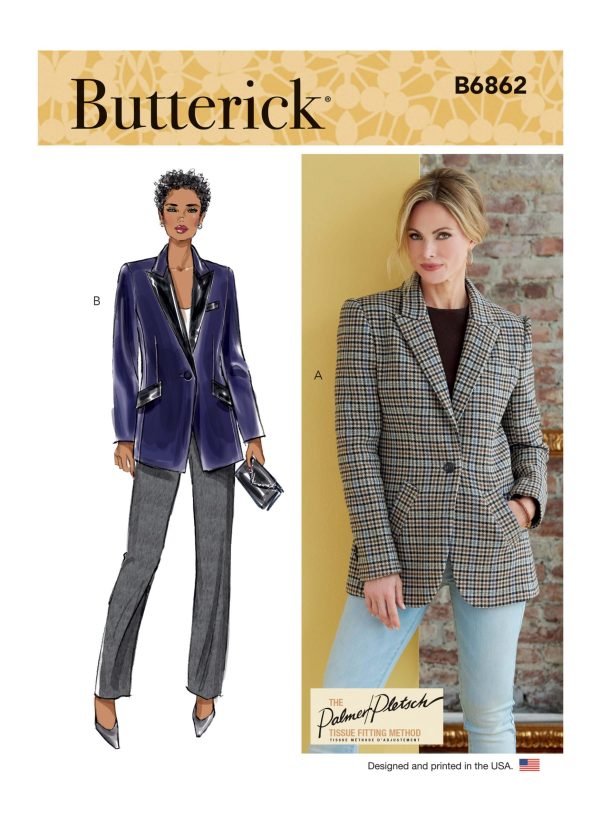
Butterick Sewing Pattern B6862 Misses’ Jacket Palmer/Pletsch
-
Butterick Sewing Pattern B6973 Misses’ Trousers by Palmer/Pletsch
-
Butterick Sewing Pattern B6898 Misses’ Top
-
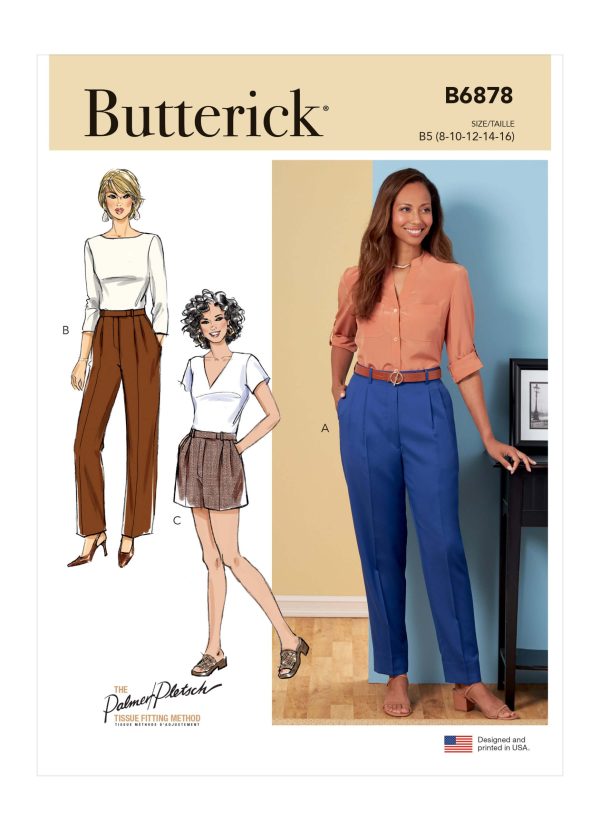
Butterick Sewing Pattern B6878 Palmer Pletsch Misses’ Trousers and Shorts
-
Butterick Sewing Pattern B6975 Misses’ Jacket, Knit Top and Dress, and Trousers by Palmer/Pletsch
-
Butterick Sewing Pattern B6849 Misses’ Fit Pattern Dresses & Optional Collar Palmer/Pletsch
-
Butterick Sewing Pattern B6853 Misses’ V-Neck Pullover Tunic & Dresses Palmer/Pletsch
-
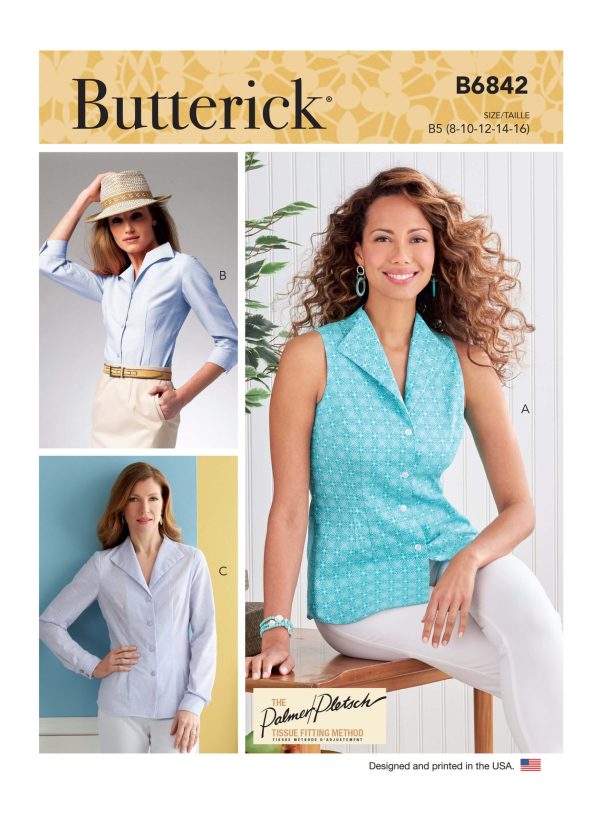
Butterick Sewing Pattern B6842 Misses’ Fold-Back Collar Shirts Palmer/Pletsch
-
Butterick Sewing Pattern B6840 Misses’ & Women’s Straight-Leg or Boot Cut Jeans Palmer/Pletsch
-
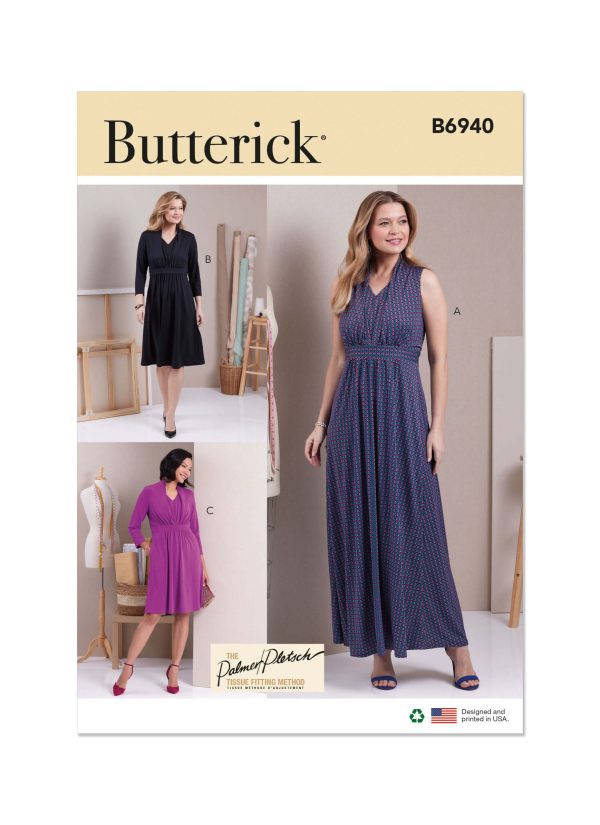
Butterick Sewing Pattern B6940 Misses’ Knit Dresses by Palmer/Pletsch
-
Butterick Sewing Pattern B6911 Misses’ Jeans by Palmer/Pletsch
-
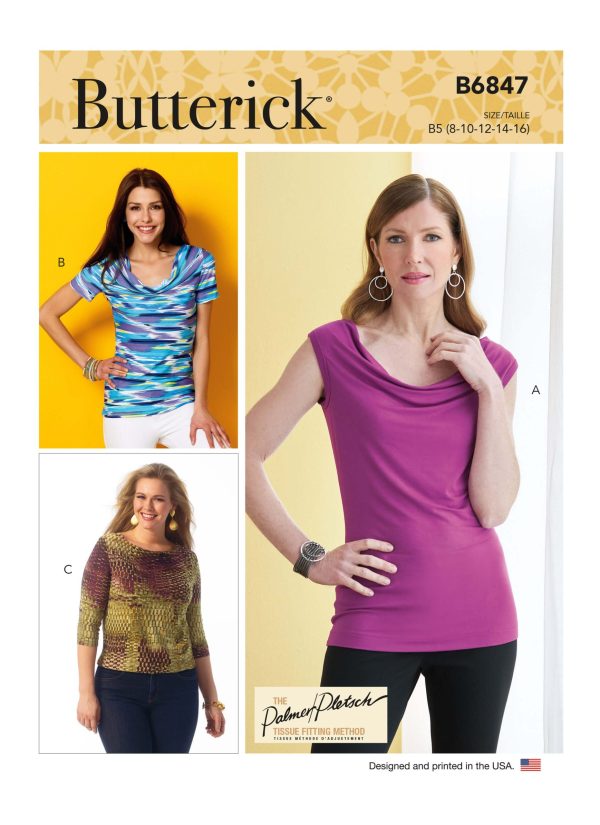
Butterick Sewing Pattern B6847 Misses’ Cowl-Neck Tops Palmer/Pletsch
-
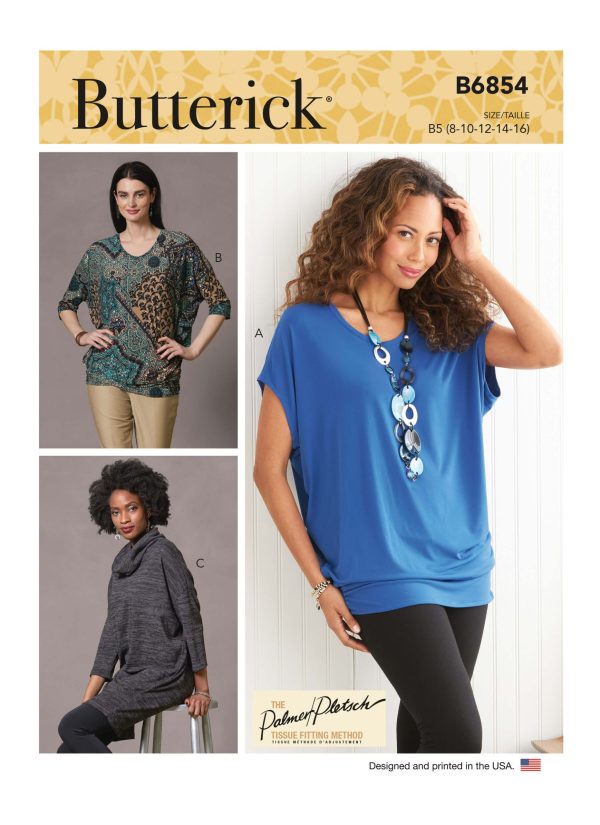
Butterick Sewing Pattern B6854 Misses’ Tops & Tunic Palmer/Pletsch
-
Butterick Sewing Pattern B6851 Misses’ No-Side-Seam Shorts, Capris & Trousers Palmer/Pletsch