
Sewing tips from Wendy Gardiner – Avoiding a Sewing Mishap
Brand Ambassador Wendy Gardiner is back on the blog today to share her top 10 sewing tips with you! You can be a complete novice, an actual stitching pro or anything in between and you’re probably still making mistakes. Luckily there are things you can do to avoid the little mishaps to make your sewing experience quicker and easier!
We’ve gathered Wendy’s top tips for you and some beautiful patterns to put these tips to the test! For more tips and tricks check out the education area on our website here.
1. Right or wrong side
When using a fabric that looks the same on the front and reverse, always mark the reverse of each cut out fabric piece with a chalk cross or other marking pen. That way you will be sure to put pieces together correctly and avoid two left or two right sleeves!
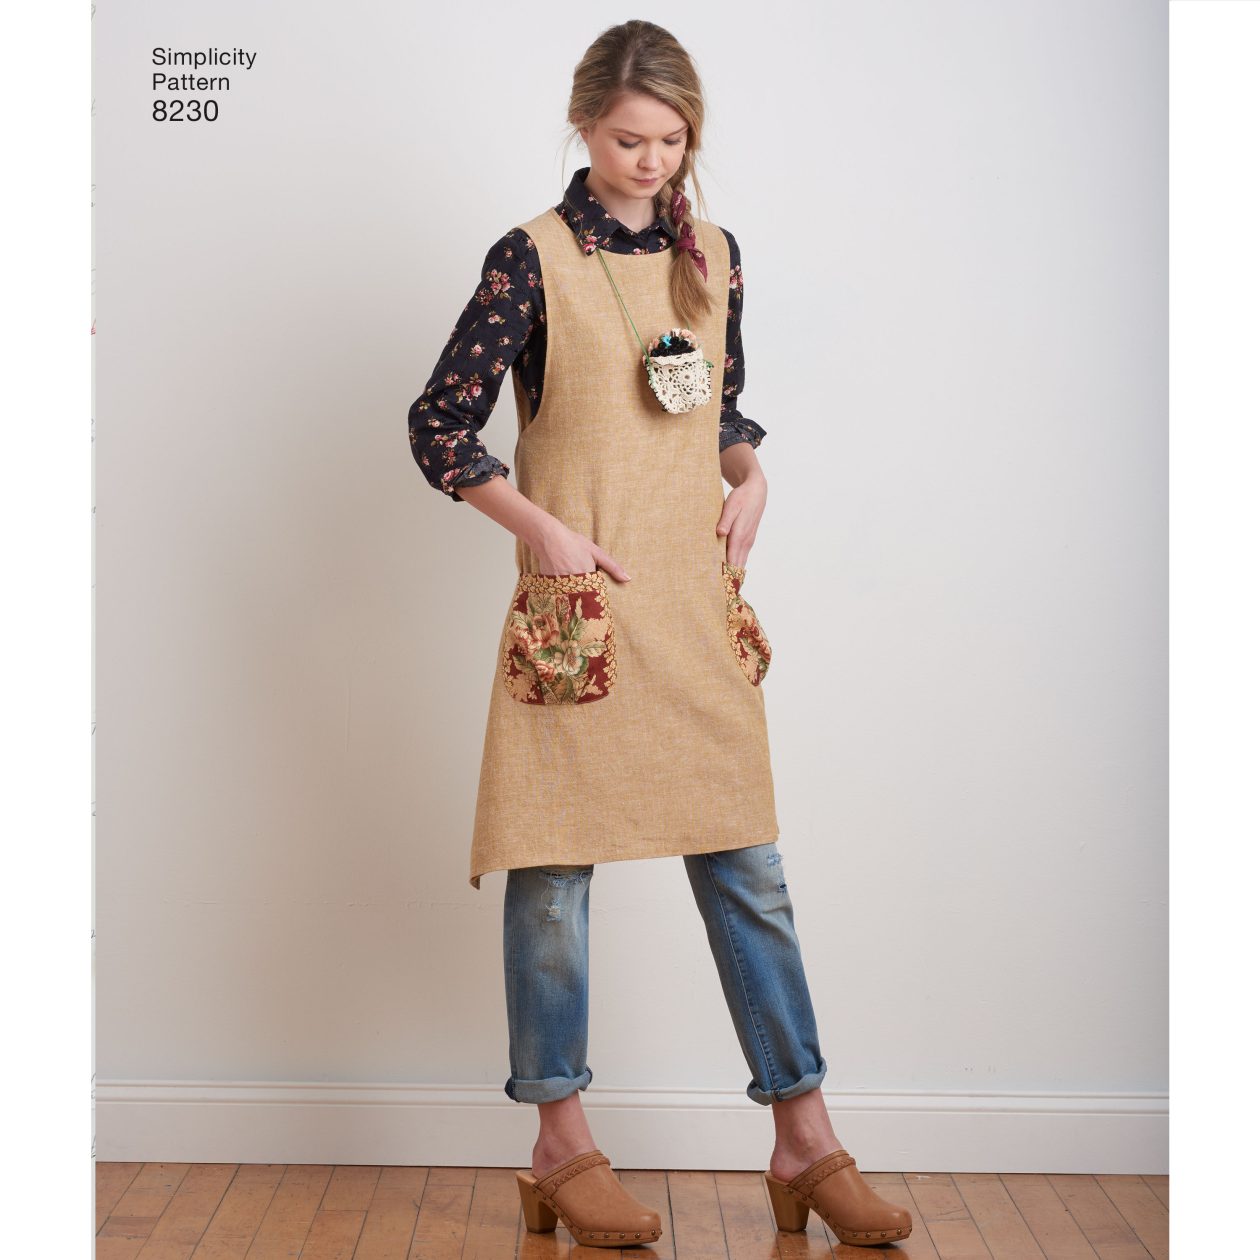
2. Beautiful curved pockets
Use a pocket template to create a perfectly curved pocket edge every time. These metal templates can be placed on the fabric and the edges turned up and pressed neatly and evenly.
Patch pockets are a fun (and functional!) detail to add to your garment. This Dottie Angel apron dress is perfect to wear while crafting, cooking, baking and gardening as you can use the pockets to hold all your tools! A pocket template will help you create those beautiful curved corners at the bottom.
3. Crisp corners
To ensure crisp even corners on collars, firstly don’t be afraid to reduce the seam allowance at the corners, snipping the actual corner at an angle then use a point turner to push out the corner.
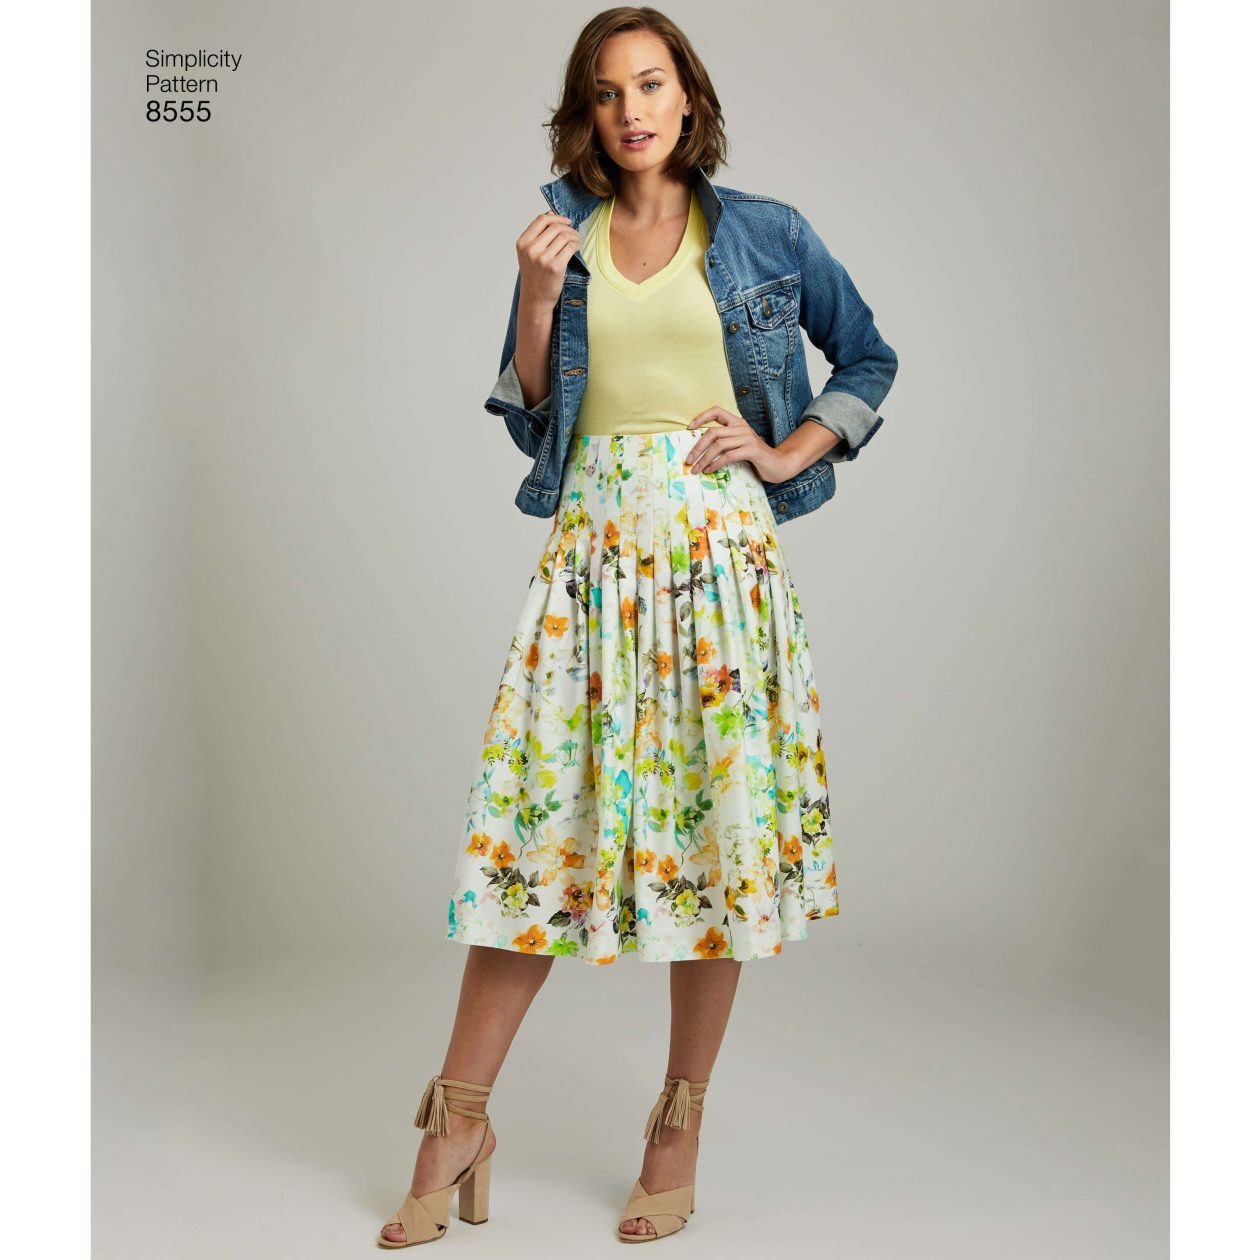
4. Perfect Pleats
Make sure pleats are even quickly by creating a pleat template from a piece of cardboard. On the top edge of the template, make notches to indicate pleat depth and gap required between folds. Note there will be a fold line and a stitching line for each pleat. With the template placed on fabric, mark pleat stitching line and fold line by cutting tiny notches in the seam allowance or marking with chalk pen. Mark at either end of the pleat to ensure accurate folding. Fold fabric along fold line and lap it to stitching line. Press in place.
A pleated skirt is a timeless piece in your wardrobe! When creating lots and lots of pleats like with this pattern it’s handy to create a template for it. This way you will get nice and even pleats that look well balanced!
5. Quick unpicking
To unpick an incorrect seam quickly, slip a seam ripper under a stitch every ½” (13mm) or so along the seam. Turn the work over and lift the thread away from the fabric. Hey presto, a seam quickly unpicked.
6. Neatened seams
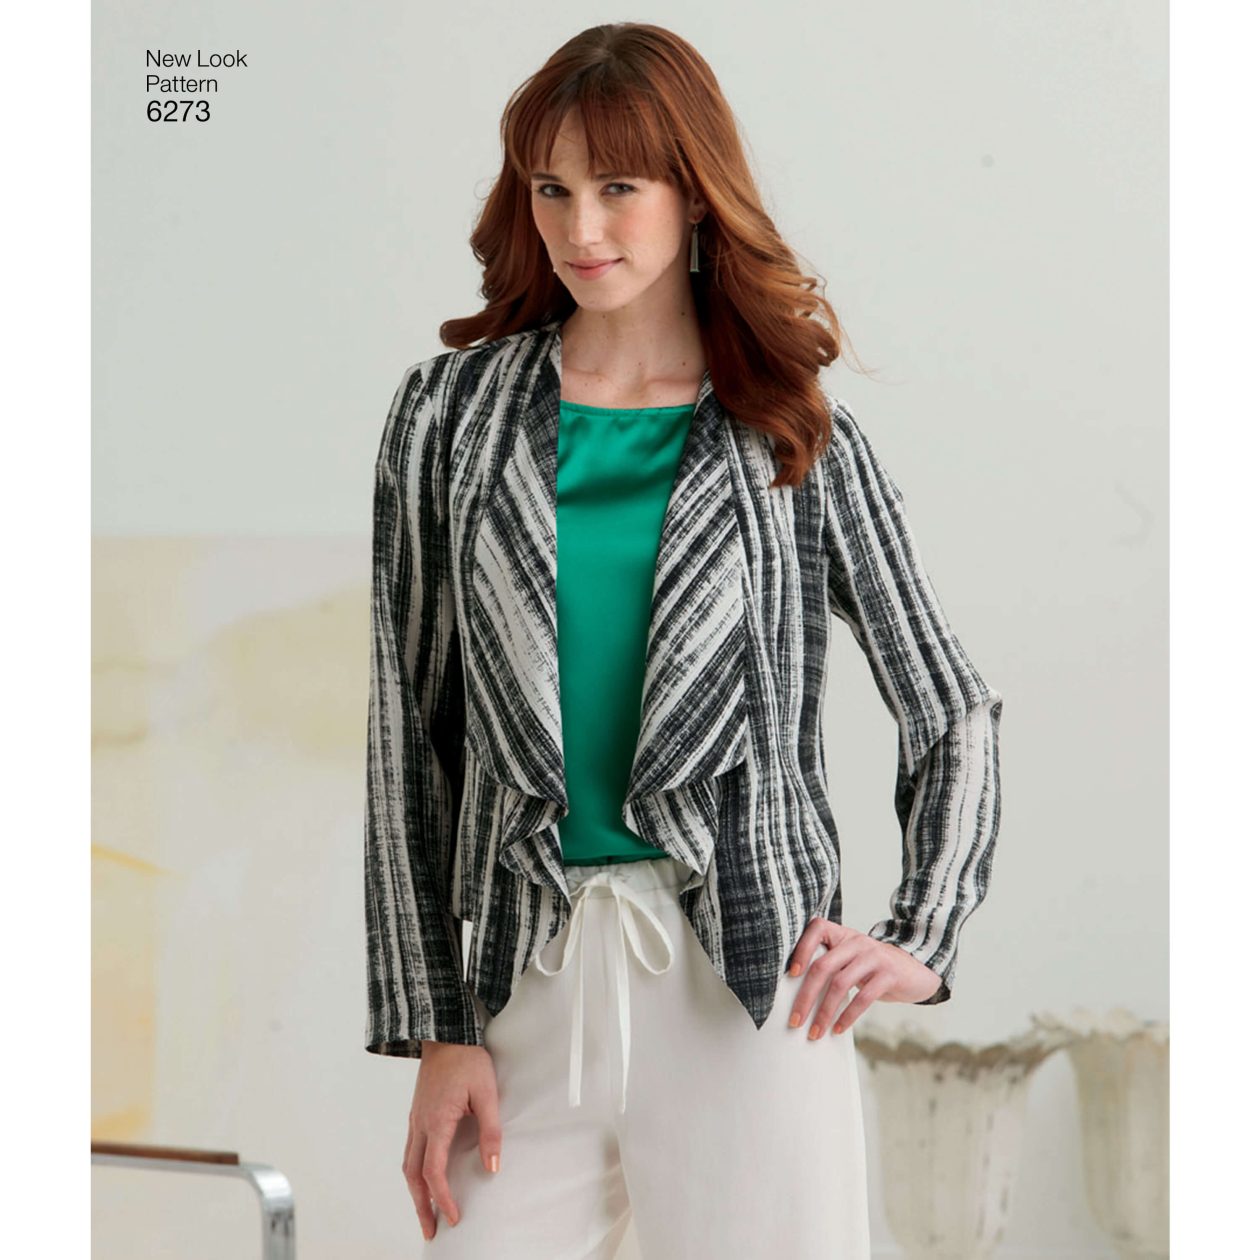
The Hong Kong finish is well known to serious dressmakers. Used to neaten seams on unlined jackets and coats, the seam allowances are basically wrapped with bias binding. Press seam allowances open, then wrap each raw edge with bias binding, and machine stitch in place, catching both the underside and top side of the binding in place as you sew.
This waterfall front jacket is a loose fitting jacket without lining and any closures at the front. Easy to throw on and a perfect addition to any wardrobe. Because of the loose fit and open front it’s very likely that the inside is sometimes visible when wearing it so finishing the inside seams with bias binding is an excellent idea.
7. Working with thick layers
Consider using a walking foot when sewing through many thick layers. It will help feed the layers evenly.
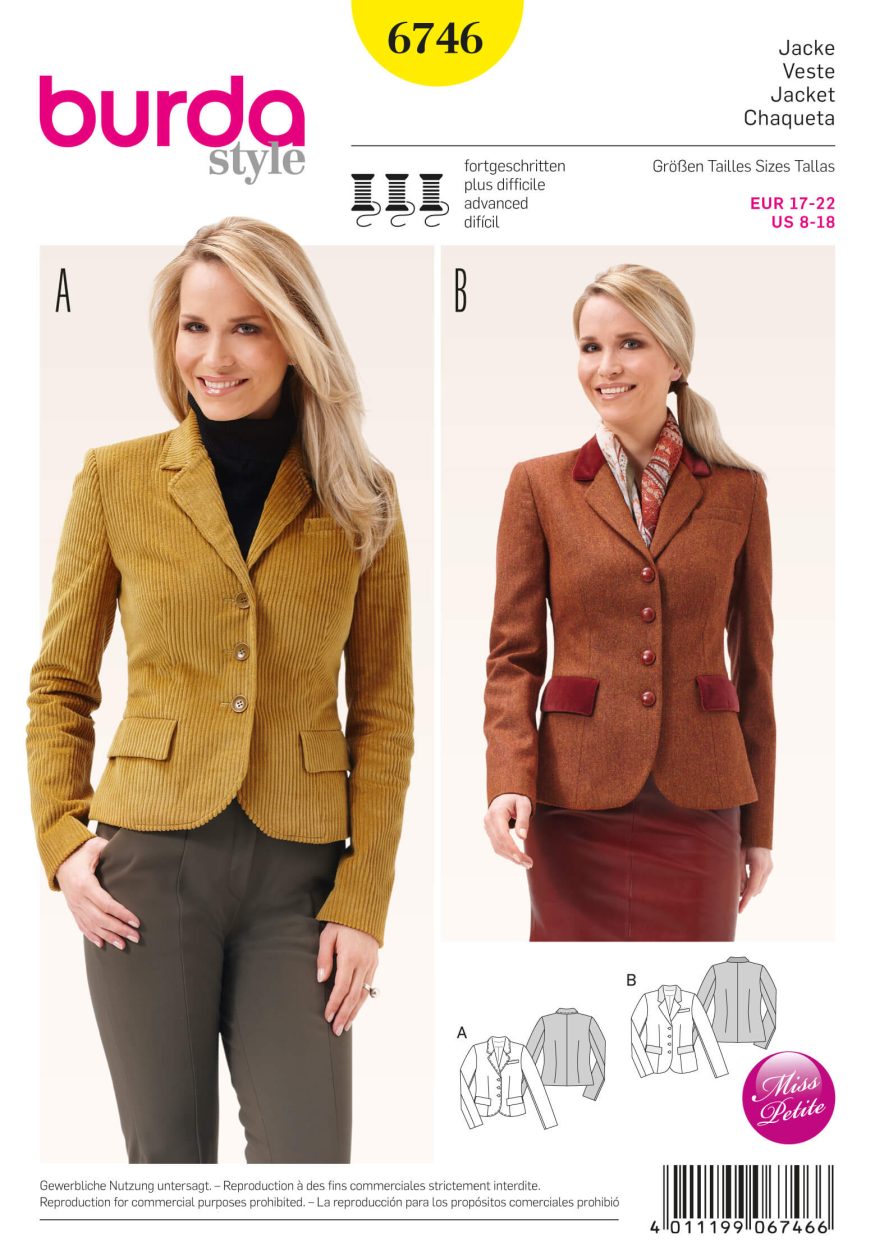
8. Pressing pointers
Use plenty of steam when pressing wools which will help shape and press the garment. Press each seam before sewing over it again.
Making a classic wool blazer in wool is a more advanced project, but with the right tools and a little bit (okay maybe a lot) of patience you’ll end up with a jacket that fits you perfectly and you’ll probably want to wear forever!
9. Reduce bulk in seams
Grade seam allowances to prevent unwanted bulk showing through – cut one to 6mm and the other to 10mm.
10. Buttonholes
Make sure that there is enough gap between the garment edge and the end of the buttonhole when the button is attached so the button doesn’t hang over the edge! Measure the width of the button, take half that measurement plus 5mm to ensure the buttonhole is sufficiently far from the garment edge to accommodate the button properly. Ie if a button measures 2cm across the width, buttonholes should finish at least 1.5cm from the garment edge.
This beautiful dress pattern has a double breasted feature on the front with some eye-catching buttons that really take this dress to the next level. The row of buttons on the left are only for decorative purposes, but the row of buttons on the right need to be perfectly placed for the dress to close properly and for a symmetrical look.
Don’t forget to share your latest makes with us on social media using the hashtags #simplicitybyme or #mccallsbyme. We can’t wait to see what you’ve been making. There are prizes to be won each month too!