Sashiko Stitching
What is Sashiko Stitching
Sashiko (刺し子) is a Japanese style of stitching which literally translates to “little stabs”. This running stitch was originally used to mend worn-out garments via points of wear while improving both their design and durability.
Nowadays, Sashiko stitching is commonly employed as a decorative technique for quilting and embroidery. Designs are commonly based on geometric patterns and traditional motifs include diamonds, arrow feathers, mountains, or bamboo.
This distinctive design features white, or sometimes red, thread against an indigo-blue cloth. However, modern renditions of Sashiko stitching encompass a wide range of colour combinations and fabrics.
Sashiko and Boro are both intertwined in history but not interchangeable. Sashiko refers to the style of embroidery, whereas the word Boro meaning rags or tattered cloth and indicates the textiles used rather than how they are put together. These techniques were born sometime in the Edo period (1615-1868) and often used white thread on an indigo base.
Fabric was very scarce and therefore expensive. It was important to make every piece count, by combining the small pieces into a larger textile held in place by stitching. The maintenance of the fabric through repair was also a valued skill. In modern times, Boro has regained popularity with the growth of the wabi-sabi Japanese aesthetic. Visible mending and slow sewing practices also helps us rethink how we consume clothing in the era of fast fashion!
The word Sashiko (刺し子) literally means ’little stabs’!
This simple but beautiful form of Japanese embroidery has become very popular over the last few years. Many people find Sashiko highly addictive! Sashiko is basically just a decorative running stitch, but certain designs require you to make your stitches in a specific order to create the ideal finish. You’re only using a running stitch, but the secret to a beautiful finish is ensuring every stitch is even in length.
You can sew Sashiko with or without an embroidery hoop! It’s generally done without one as you can make several stitches in a single pass of the needle. But if you choose to use a hoop, don’t secure it too tightly to allow the same action.
In order to help you make multiple stitches in a single go, Sashiko needles are longer than other hand sewing needles.
Materials Needed for Sashiko Stitching
Traditional sashiko stitching features a white-on-blue design that can be achieved with a:
- Sashiko thread.
- Sashiko needle.
- Sashiko pattern.
- Sashiko thimble.
- Loosely woven and medium-weight fabric like linen.
- Tracing tools like a pen or chalk.
Do you need Special Thread for Sashiko Stitching?
One of the most important elements in Sashiko stitching is the thread. For optimal results, you will need a unique thread that is specially designed for this kind of stitching.
Unlike embroidery floss, Sashiko thread is non-divisible, meaning its strands cannot be separated. Sashiko thread is available in three different thicknesses and weights known as:
- Light thread
- Heavy thread
- Extra thick (Kogin) thread
In terms of colourways, traditional Sashiko threads are available in white, off-white, and red. However, modern suppliers of Sashiko thread offer a multitude of colours.
If you can’t get your hands on Sashiko thread, you can substitute this material for size 8 pearl cotton thread or regular cotton embroidery floss. However, they feature a different sheen and twist than traditional Sashiko thread so you may experience difficulties achieving the same look.
Sashiko vs Other Types of Stitching
Sashiko differentiates itself from other types of stitching in many ways. This being said, the greatest difference lies in its purpose. Sashiko stitching aims to reinforce fabric by making it stronger, whereas regular stitching patches fabric together to create garments.

What is the Difference Between Sashiko and Embroidery?
Traditionally, Sashiko served as a means for working-class families to reinforce clothing, extend wear, and craft practical work garments. In contemporary times, Sashiko is praised for its intricate designs and aesthetic embellishments, transitioning into a decorative practice rather than a functional one.
This being said, there are still various elements that differentiate Sashiko from traditional forms of embroidery. These include:
The Stitching Process
Sashiko involves loading various stitches onto your needle at once in the form of a running stitch. This process is known as Unshin (運針), a rhythmic method of stitching that the needle carries. For this type of stitch to be successful, the fabric must be loose, therefore, a hoop is unnecessary.
On the other hand, embroidery features a range of different stitches, including simple single stitches and more complex ones, like chain stitches or French knots. Rather than focusing on geometric patterns like Sashiko, embroidery can be used to achieve more diverse designs.
The Use of Knots
Another way Sashiko differs from embroidery is via its use of knots, or more accurately, its lack thereof. In Sashiko, knots are frowned upon and, instead, the thread is secured by weaving it back through the existing stitches. The lack of knots contributes towards creating a cleaner and neater look while ensuring a smooth surface on both sides of the fabric.
As we previously mentioned, embroidery uses a number of different stitches – many of which may involve knots to secure the thread. Using knots in embroidery is optional, however, knotting is not encouraged at all when practising Sashiko.
The Type of Materials and Tools
Last but not least, the types of materials used for Shashiko make all the difference. To practise Sashiko properly, you will need several materials including a specific type of thread, fabric, and even thimble.
For a traditional Sashiko, you will need medium to heavyweight indigo-dyed fabric, alongside a thick white Shashiko thread. You’ll also benefit from using a traditional Sashiko thimble that rests between your middle finger and palm. This helps the thumb control the needle and ensures an even stitching length across the fabric.
Rather than adjusting the fabric, embroidery focuses on adjusting the needle during the stitching process. You can hold the needle between your thumb and index fingers while stabilising the tool with your middle finger. Embroidery allows for a broader spectrum of material choices, providing greater versatility in your creative selections.
What is the Difference Between Sashiko and Boro?
Sashiko and Boro are both forms of ancient Japanese sewing techniques. The former focuses on reinforcing fabrics through decorative stitching, and the latter involves creating new fabrics from old pieces via patchwork.
Both aim to extend the life of worn-out garments; however, Boro derives from the word boromono, meaning tattered rags. It’s a way of recycling old fabrics and gaining maximum use by patching the reverse sides of textiles like cotton bedding and clothing.
Mending Clothes with Sashiko
Although Sashiko is commonly known as an art form that encompasses functionality and beauty, its original purpose was to mend clothes and reinforce points of wear.
What is the Traditional Sashiko Repair Technique?
Now you know all about Sashiko stitching, let’s explore the technique involved. In order to mend clothes with Sashiko stitching, you’ll first need to:
- Prepare the fabric: start by identifying which areas of your garment need repair and trim any loose or frayed ages.
- Thread the needle: cut your Sashiko thread by about 18 to 24 inches and thread the needle for a single stitch.
- Incorporate a traditional pattern: if you want to incorporate traditional Sashiko patterns, consider adding geometrical shapes or lines to your pattern.
- Use the Sashiko stitching technique: run the needle through the fabric a few times to create your anchorage and start a straight stitch by inserting the needle from the back of the fabric to the front. Ensure each stitch is spaced evenly.
- Continue your running stitch: work your way across the damaged area of the garment by following the patterns and using a continuous running stitch.
- Weave in the ends of your thread: when you’re happy with your final result or you need to change the thread, weave the Sashiko thread back through the existing stitches to secure it in place.
- Trim any excess and inspect the repair: after you’ve secured the thread, trim any excess and ensure your stitches are tight enough to enhance functionality.
Top 5 Tips for Sashiko Stitching
To become a master at Sashiko stitching, we recommend you take on board our top tips. Here are five of our best suggestions to complete your Sashiko stitches with ease:
- Use the right tools and materials: we can’t stress this one enough as using the right materials, such as Sashiko threads, needles, thimbles, and fabric will make a world of difference.
- Get used to pulling the fabric, not the needle: getting used to a new sewing technique can take some time, but to nail the Sashiko stitch, you’ll need to get used to pulling the fabric to load your stitches, rather than pulling the needle.
- Keep the fabric smooth: after you make your stitches and pull the fabric, make sure the textile is smooth. This process is called Itokoki (=糸こき) and it aims to avoid unwanted tension or puckering.
- Start with smaller projects: if you’re new to Sashiko stitching, we recommend you start off with simpler projects and work your way up.
- Embrace any imperfections: traditional Shashiko embraces the “wabi-sabi” mindset which focuses on finding beauty in imperfections, so don’t stress if the final result isn’t perfect.
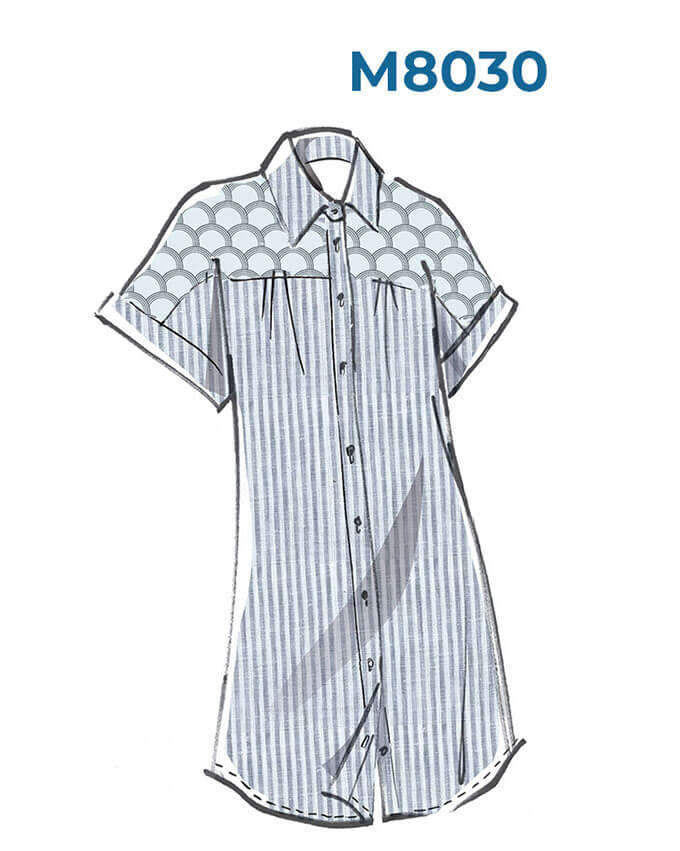
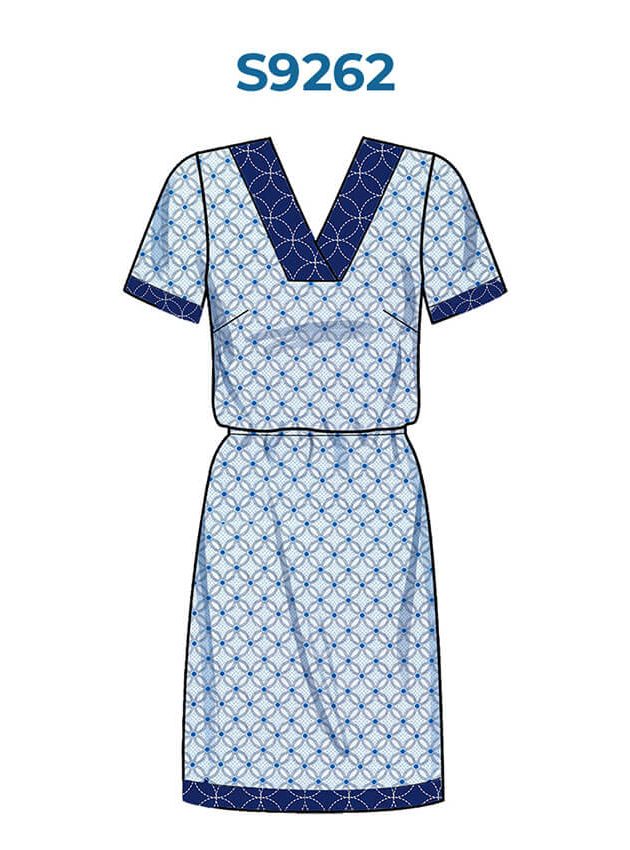
Browse some of our Sashiko patterns below:
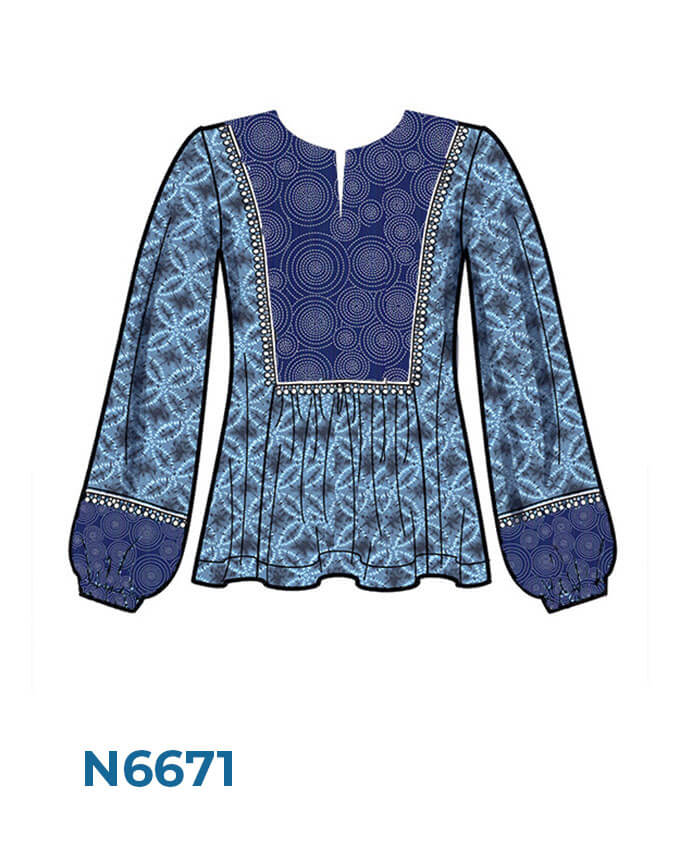

N6671 would let you add a matching Sashiko yoke and cuffs.
M7960 is a simple wrap skirt where you can add Sashiko feature pockets.