5 Ways to Slow Down Your Sewing and Enjoy The Process
The better you get at sewing, the easier it is to race through a project and before you know it you’ve made a garment in half the time. That’s wonderful in some ways because you get the joy of wearing it out and about sooner, but if sewing is not just a way to make clothes but a hobby you enjoy, you might find that you want to fill your time better and let you savour the creative process for longer.
A few tactics can help with this, to slow you down to either find pleasure in the smaller steps around sewing or stretch out the sewing steps for more enjoyment. I’m sharing 5 ideas for taking a slower approach to your creativity!

Idea 1
Let’s start simple. Take a considered approach to your wardrobe and how you dress. Do an audit of what you actually wear and especially what puts you off wearing your handmade clothes.
Ask “Why don’t I wear this?” – Is it because you forgot it existed? Is it because it needs to be tailored or mended? Is it because it no longer fits or serves your style? It could be the cut or colour. Or you’re making too many dresses when you prefer wearing trousers day-to-day.
You’ll walk away with more knowledge about the gaps in your wardrobe and can look for the perfect patterns to fill them. Maybe you’ll also be inspired to replace or recreate your favourite RTW pieces with handmade equivalents.

If you’re feeling overwhelmed there are some great support tools for auditing your wardrobe. Sew Your Own Style is a self-guided programme designed to empower sewists. At the end of the programme you will have a clear picture of your own style and what garments you want to make and wear.
Idea 2
Why not take time with your prep work? Cleaning your machine and sewing space before you move onto a new project. When you’ve chosen, iron your fabric properly, choose your interfacing carefully with practice swatches, choose the right weight of needle and practice your stitch settings.
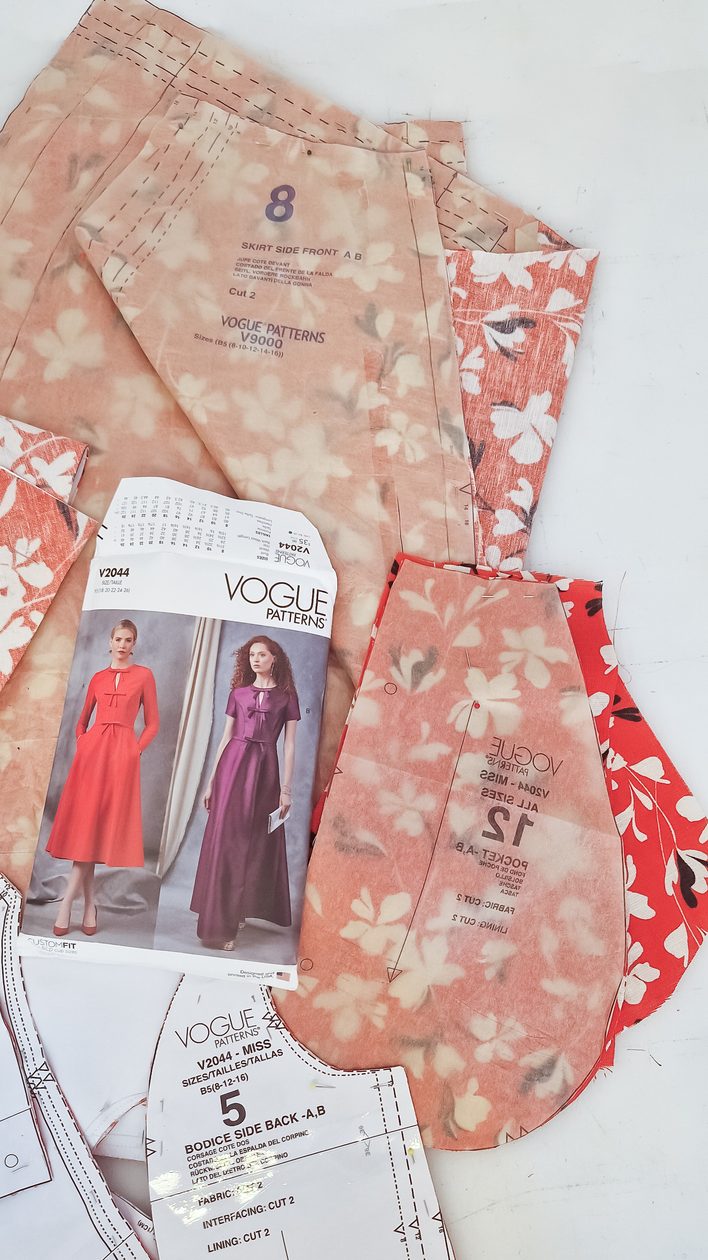
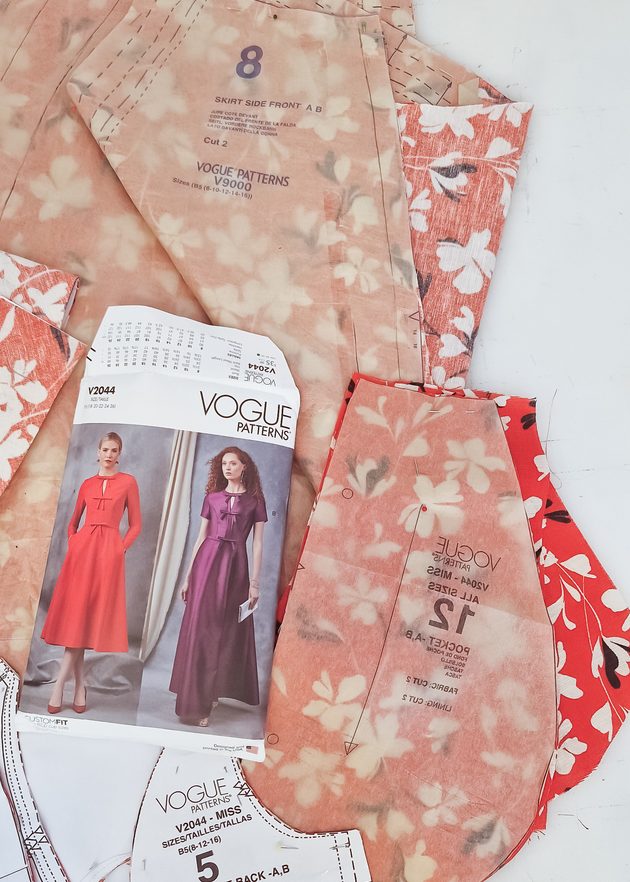
We sometimes wade in, getting started and don’t have everything ready or nearby. But it can be quite nice to collect all the pieces together. My friend likes to use a little metal basket. She puts all the supplies she needs together – the fabric, lining, any notions, interfacing, pattern and her test stitches / swatches to make sure everything is together. Even after everything is cut out, she keeps it together neatly ready to return to.
Similarly, take time with your finishing! Use covered fabric buttons, hand-sewn hems or if you’re feeling especially sloth like, hand-worked buttonholes!
Idea 3
Something that takes a bit more time is choosing a trickier fabric. Corduroy and velvet, satin and silk, these are fabrics that require special handling. For silk and satin, you often pre-treat them to help make them more stable. They require special cutting layouts called “nap layouts” aka one-way layouts so the pile or shine of the fabric goes in the same direction on each of your pattern pieces.
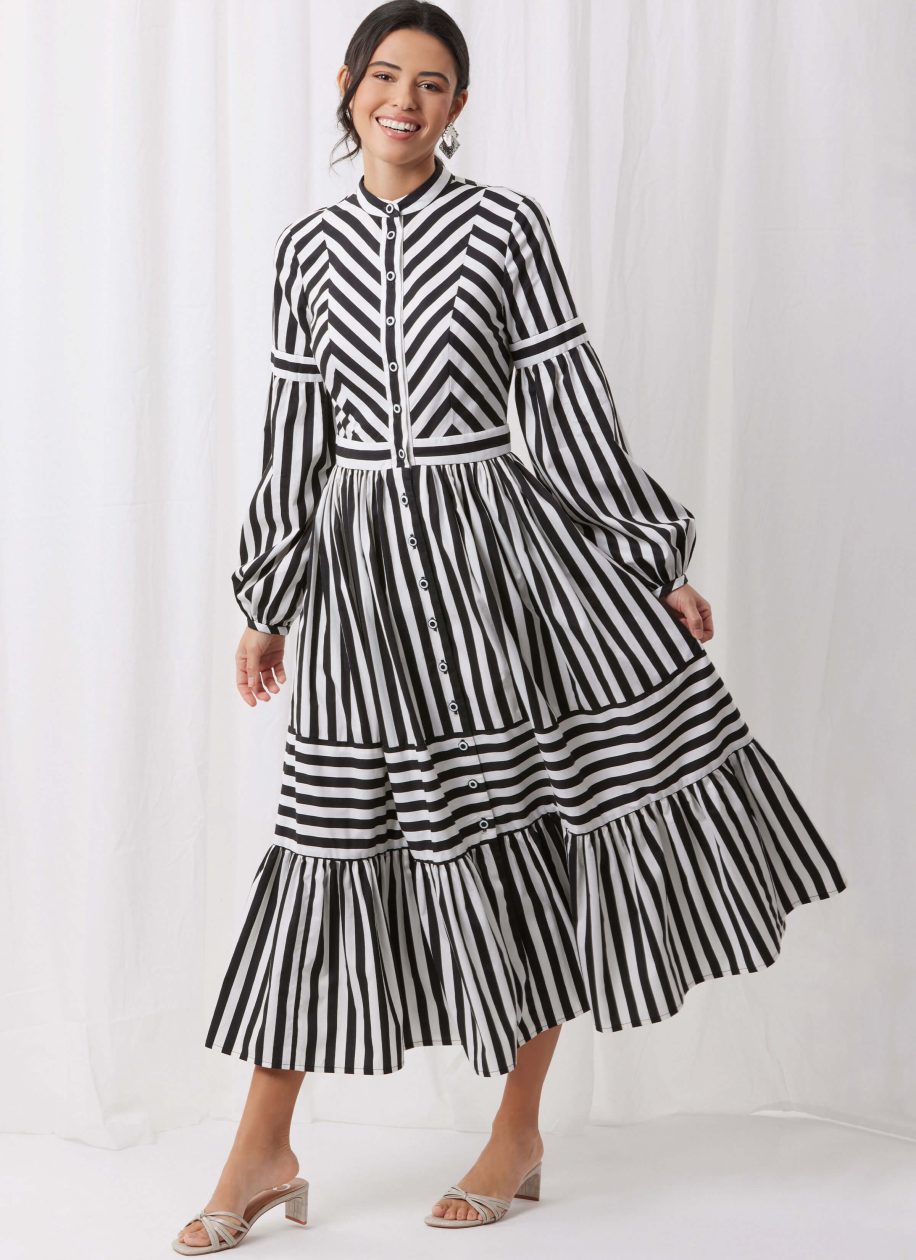
Try picking a fabric that requires pattern matching. If you’re dipping your toe into this, use a stripe or a simple check. You’ll have to plan your cutting layout more carefully to create the matches at the seams. Then you’ll need to slow down as you place the pieces together. You’ll use more pins than normal to ensure each seam matches up and you’ll be sewing slower.
Print placement can also help you think more carefully about your project if you have a large scale print or motifs scattered across the fabric that you can play around with the positioning on the body in front of the mirror or using a mannequin before cutting out. I like using the Magic Mockup tool on the Stash Hub website stashhubapp.com to visualise my designs before getting started.
Idea 4
I have to suggest focusing on fit. There’s something very satisfying about treating fit as part of the sewing process rather than becoming something that lets down the finished make.
Measure yourself carefully, rather than relying solely on your usual pattern size and compare your body measurements with the finished garment measurements to understand the intended ease. You can look up the amount of ease in other garments you’ve made recently and liked the fit of to help you decide what size to make.
Toile making is one of my favourite parts of sewing because it’s about creative solutions. I generally start by making basic adjustments to my pattern pieces, like reducing height and doing a narrow shoulder adjustment based on my experience with other patterns but you can start with a toile from unaltered pieces.
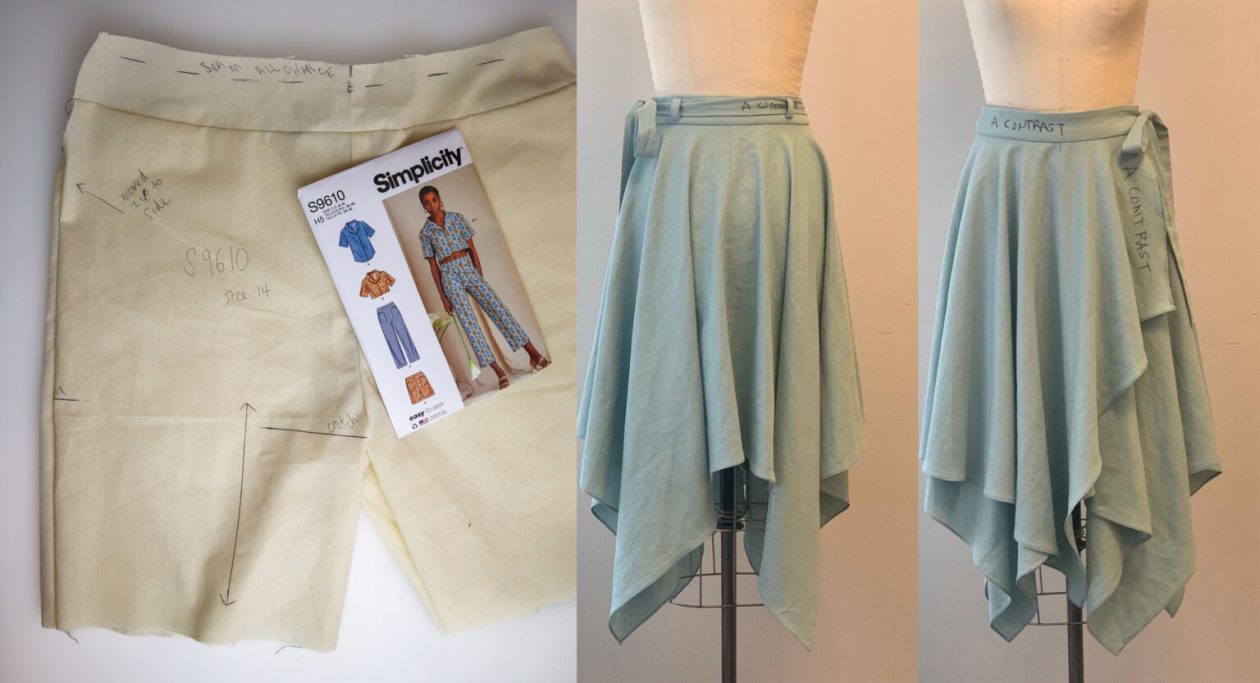
Making a toile from calico or plain cotton which has marked grainlines, bust, waist, hip lines etc and analysing the result can be very interesting. You can also try tissue fitting – this Palmer Pletsch method teaches you how to make a half garment using the pattern pieces saving time and fabric. You can use fitting books and tutorials to work out the adjustments to make. I recommend the book by Palmer Pletsch Complete Guide to Fitting: Sew Great Clothes for Every Body. This covers tissue fitting and toile making as well as lots of different adjustments for great fitting clothes.
I often make a second toile to test my changes before cutting into the real thing. This lets me start with confidence and often lets me indulge in more expensive or precious fabric because I’ve reduced the risk of the finished project being unwearable – I know it will fit in a way that is comfortable to me.
Idea 5
Of course the best way to slow down is to take on a project with a lot of steps and a lot of new techniques. Something like an anorak that requires hunting down the perfect waterproof fabric. Picking up special needles and testing out the stitch settings and interfacing to use. Learning how to create new styles of pockets with flaps or expanding gusset styles. Press studs and open-ended chunky zips.
If you’re not ready for a complicated project start small – That could be a new to you pattern company where you need to read their instructions and follow more carefully. Or just try one technique in your project that you want to perfect: French seams, invisible zippers, or welt pockets.
For example, if you’re making a collared blouse or a shirt cuff, promise yourself you’re going to try and make this the best version you can do. Really work on researching tips for making crisp corners. Lower your stitch length and speed as you go round the corner. Take your time with the trimming and pressing.

You’ll learn so much from trying harder on the simple steps just as much as the trickier techniques!
Find Your Next Project
-
New
Vogue Patterns Sewing Pattern V2161 Misses’ Pleated High Waist Trousers in Two Lengths
-
New
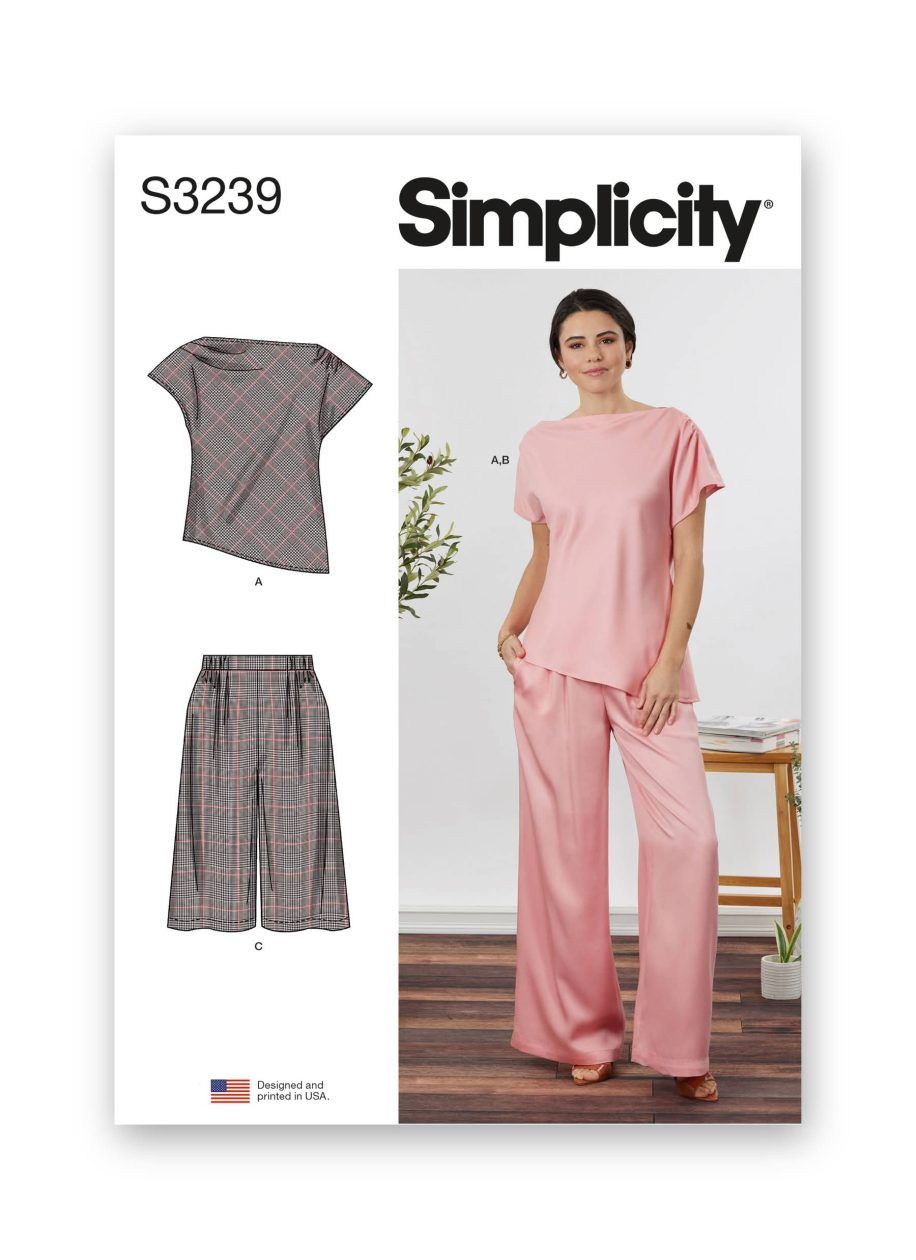
Simplicity Sewing Pattern S3239 Misses’ and Women’s Draped Asymmetrical Top and Pull-On Trousers
-
New
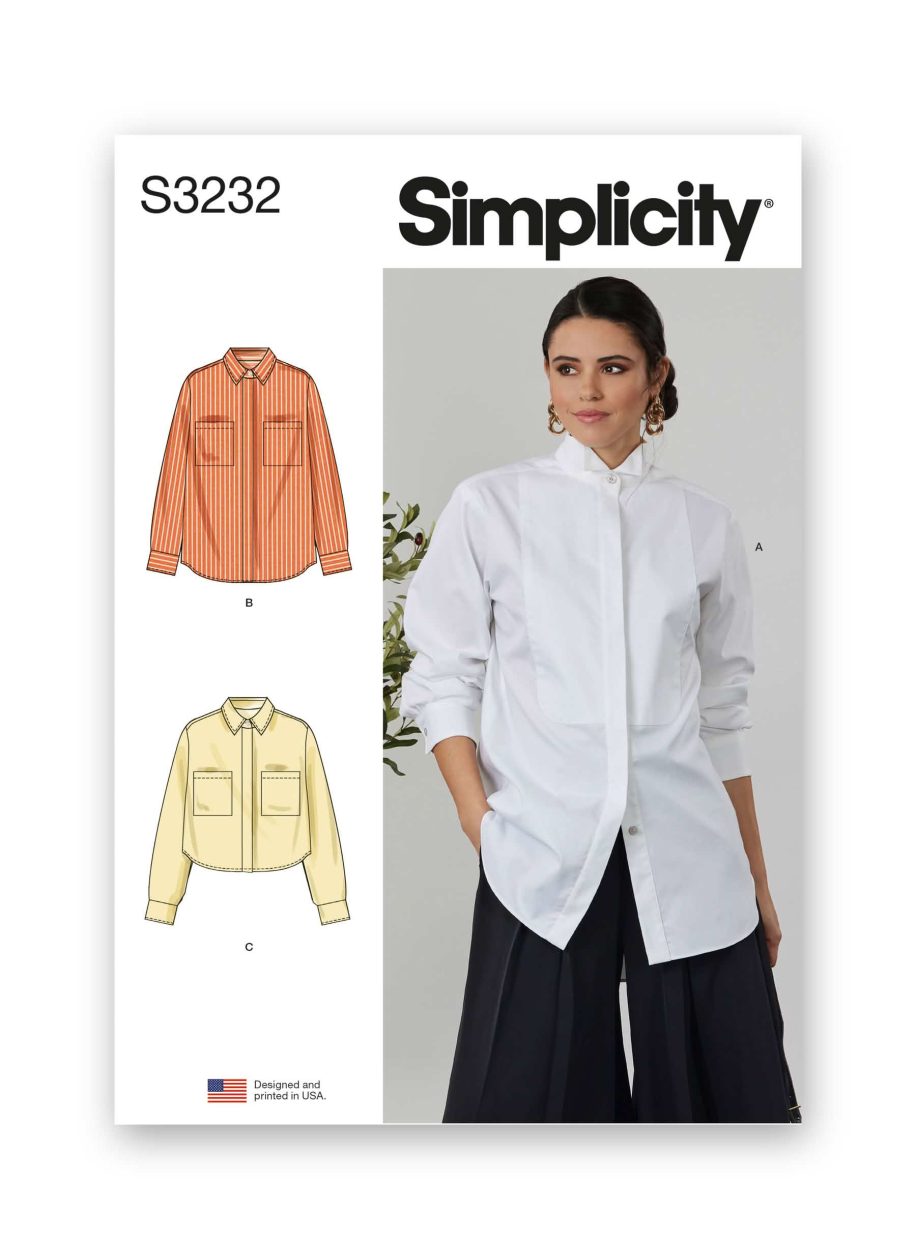
Simplicity Sewing Pattern S3232 Misses’ Oversized Shirt
-
New
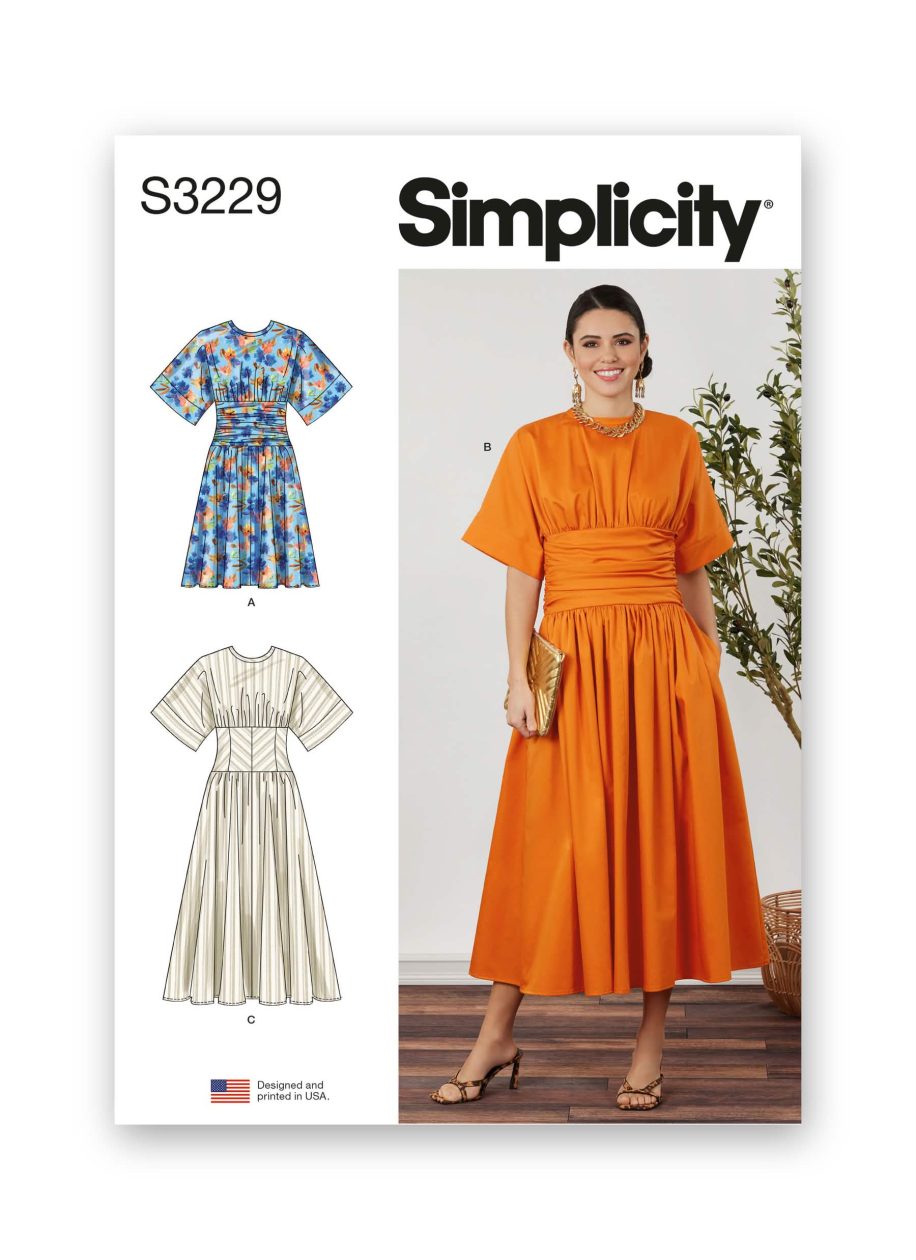
Simplicity Sewing Pattern S3229 Misses’ and Women’s Midi Dress in Two Lengths
-
New
Simplicity Sewing Pattern S3206 Men’s Shirt
-
New
New Look Sewing Pattern N6827 Misses’ Trousers and Shorts
-
New
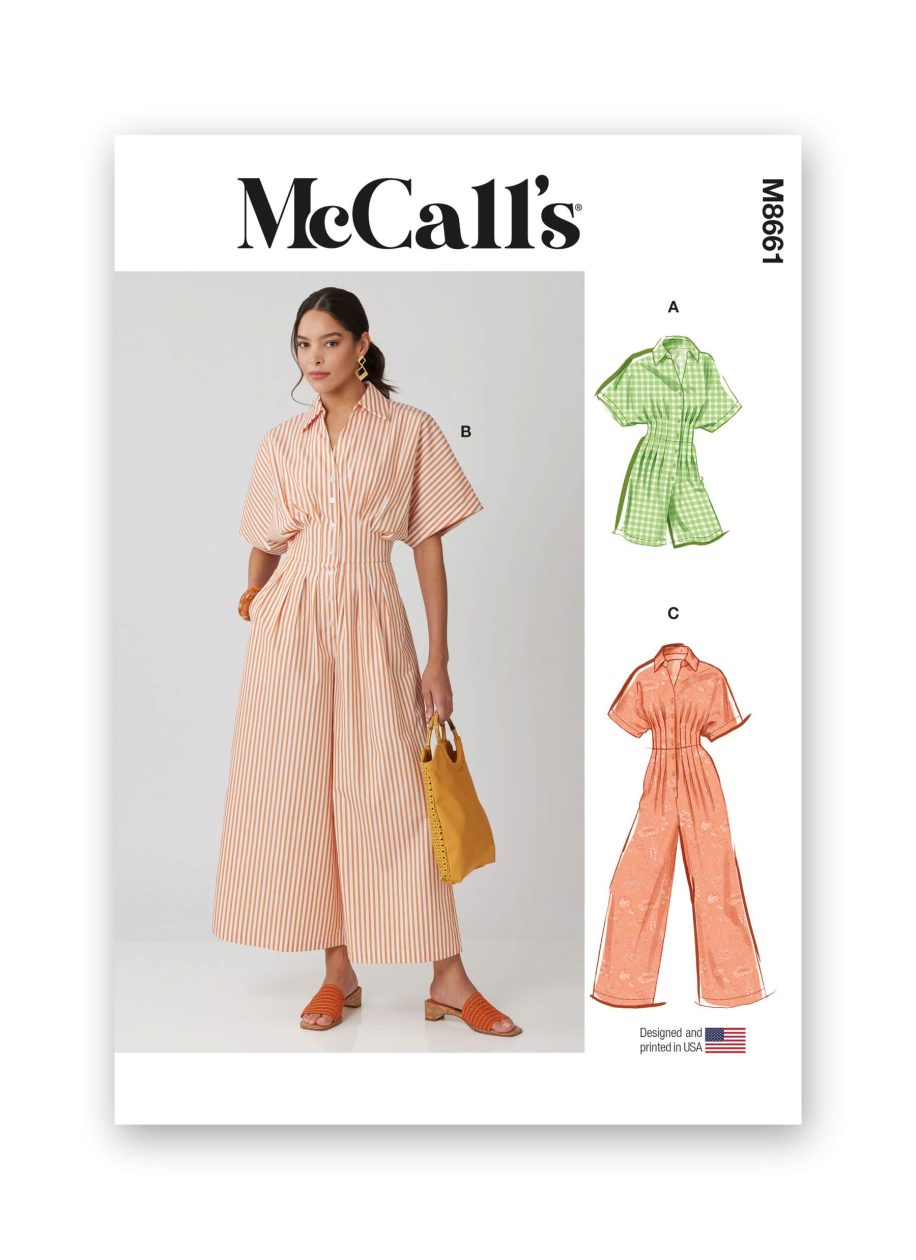
McCall’s Sewing Pattern M8661 Misses’ Jumpsuit in Three Lengths
-
New
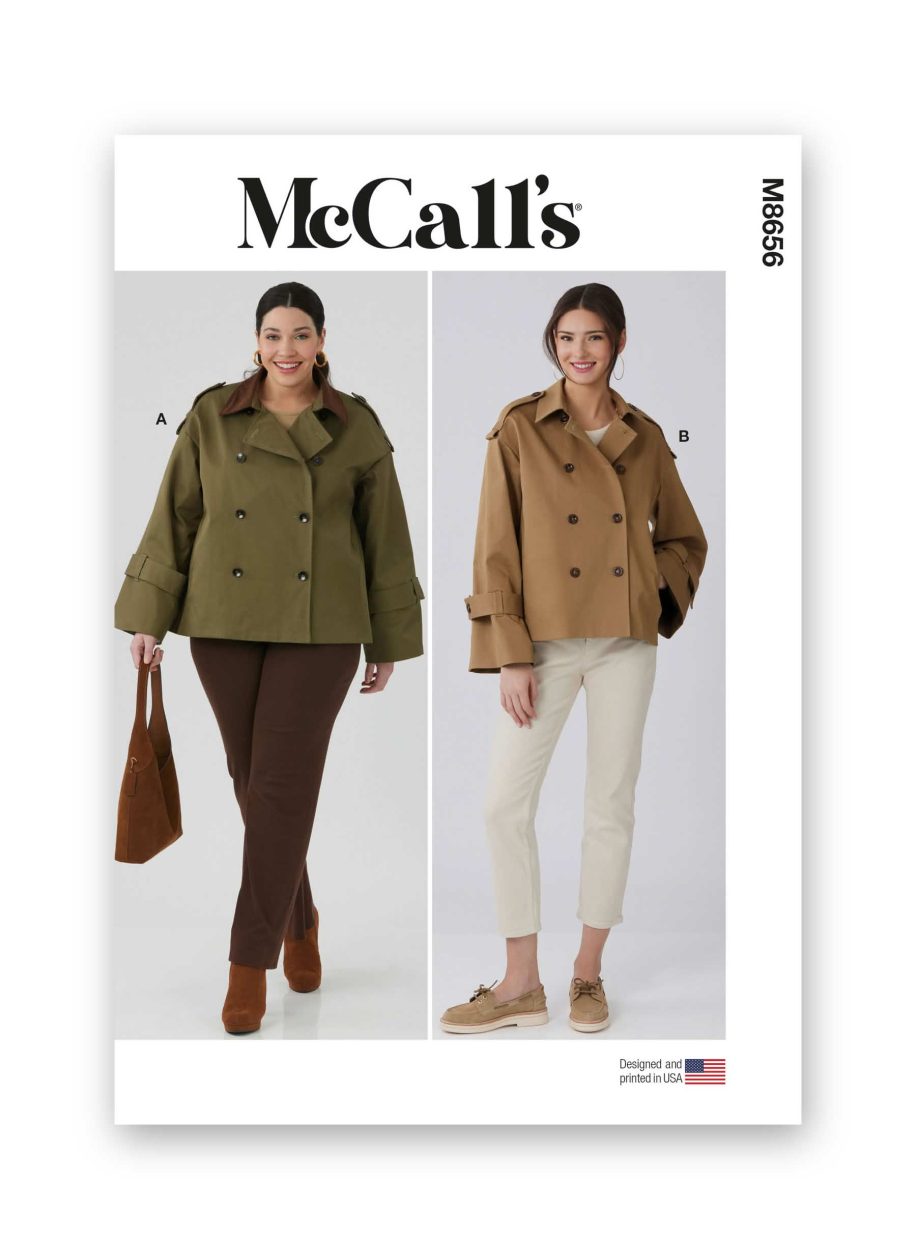
McCall’s Sewing Pattern M8656 Misses’ and Women’s Trench Jacket
-
New
McCall’s Sewing Pattern M8655 Misses’ Trench Coat in Three Lengths with Optional Hood
-
New
Butterick Sewing Pattern B7093 Misses’ Blouse
-
Simplicity Sewing Pattern S3098 Misses’ Dress with Sleeve & Length Options
-
Vogue Sewing Pattern V2044 Misses’ Dress with Sleeve and Length Variations