Top tips for sewing with shirring
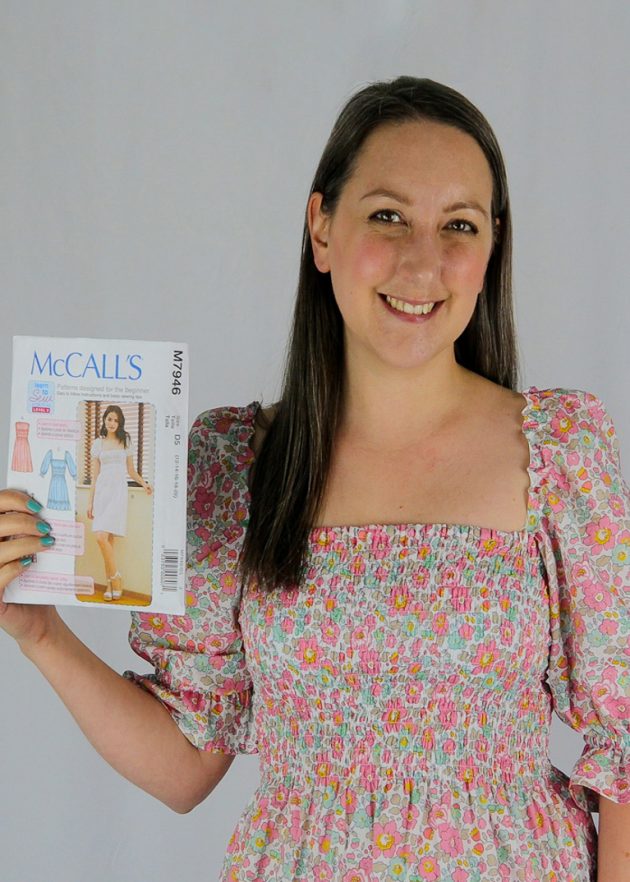
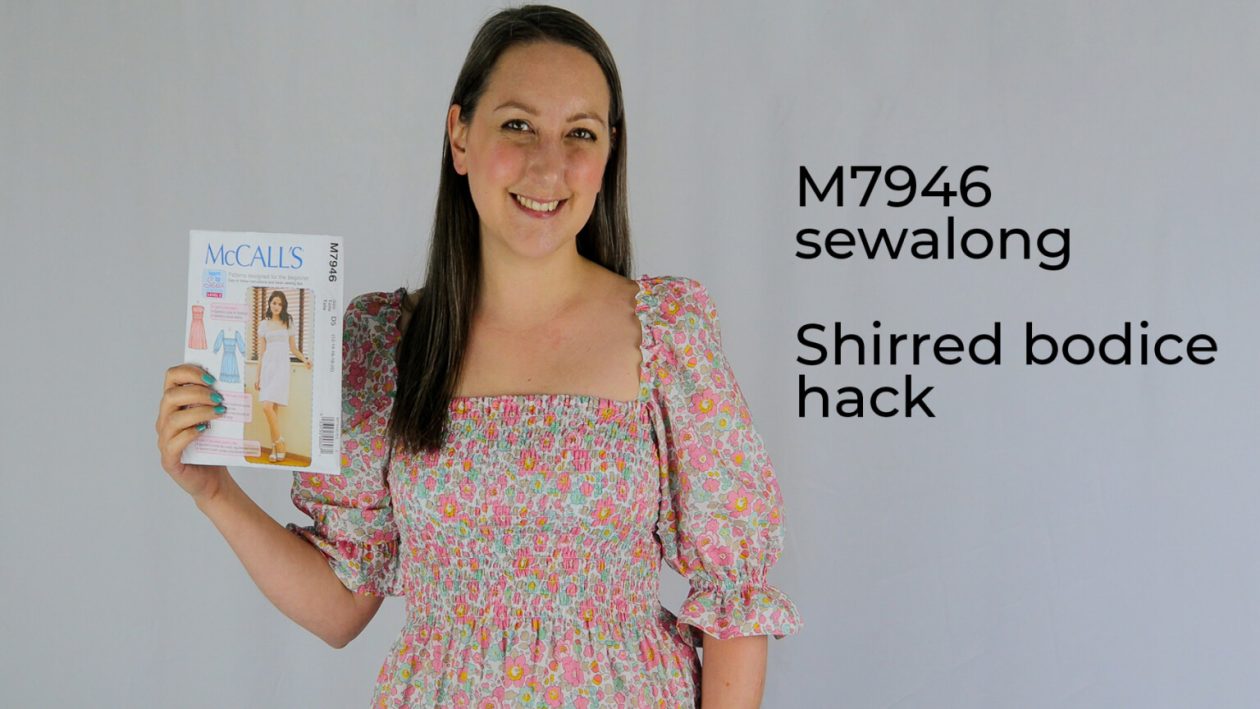
If you’re looking to try shirring, we recommend M7946 as the perfect dress pattern because it has different bodice, sleeves and hems to try. You can see our video guide for creating shirring on the product page and on our YouTube channel where we show you how to replace the flat elastic channels with rows of elastic thread stitching.
We share how to adapt the instructions, how to use shirring elastic and top tips for shirring success!
As the shirring elastic is performing the same as the elastic channels you can sew the same size you originally planned. And elasticated dresses are so easy for beginners because they stretch to fit your figure.
Shirring is made by sewing parallel rows of stitching with the elastic thread in your bobbin ONLY. You use regular thread in your needle.
The best method is to move your needle to the far left, then you can line the right hand side of your presser foot up with the previous line of stitching creating perfectly even subsequent rows around 1.5cm apart.
The Sewing Bee contestants were fiddling around with their tension settings on the show, but if you hand wind your bobbin correctly using the tips in our video you won’t need to adjust your tension. But it’s a good back up if things haven’t gone to plan, simply increase the tension to offset the loose thread.

If you fancy trying shirring but don’t want to make the M7946 dress why not try these patterns with shirred details.
We have six patterns in our collection where you can shirr just the back, the neckline, the waist or the full bodice. There are also lots of brilliant choices for trying a shirred garment without having to make a dress – with tops and trousers to take a look at!