Fusing Interfacing
INTERFACING
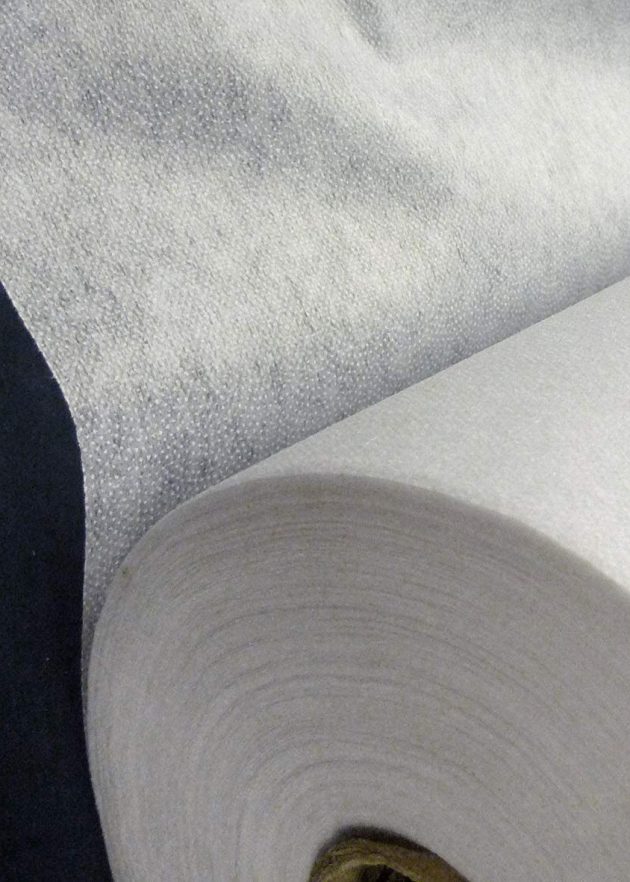
What Is Interfacing?
Interfacing is an extra layer of fabric that provides shape and support in detail areas of the garment. Interfacing is frequently used in collars, cuffs, lapels, necklines, pockets, waistbands and opening edges.
How Do I Choose An Interfacing?
The two basic types of interfacings are sew-in and fusible. Both are available in woven, knitted and nonwoven versions, and in a variety of weights, ranging from heavy to sheer weight. The rule of thumb is that the interfacing should always be slightly lighter in weight than the fashion fabric.
Choosing between a fusible and a sew-in interfacing is really a matter of personal preference. In general, fusibles provide slightly crisper results. Because fusibles “set” the yarns, they’re an excellent choice for fabrics that fray. However, some fabrics do not react well to fusibles. This group includes metallics, beaded, sequined or re-embroidered fabrics, rayon and acetate velvets, most brocades, fake furs, leather, vinyl and openwork fabrics, such as lace and mesh. Always test the fusible interfacing on a scrap of the fashion fabric before you begin to be sure it works and that you like the results.
Most people think of fusibles as easier to use and they are, as long as you take time to follow the manufacturer’s fusing directions carefully.
Do You Have Any Tips For Getting A Good Bond With Fusible Interfacing?
A successful bond is the result of the optimum combination of steam, pressure and time. Start by reading the instructions that come with your choice of fusible interfacing, then test-fuse, using scraps of interfacing and fashion fabric:
- Check your iron setting. “Wool/steam” is generally recommended but irons can vary. You may need to set yours higher or lower to find the proper fusing temperature.
- Place the interfacing fusible-side-down on the wrong side of your fashion fabric. Cover the area to be fused with a press cloth. Although some moisture is needed, the pressing cloth should not be soaking wet—just dampened or misted.
- Move your iron over the area being fused by lifting the iron up and putting it back down in an overlapping pattern. Use downward pressure and count for the recommended time (usually 10-15 seconds). Count “1 Mississippi, 2 Mississippi, etc.” so you know you aren’t scrimping on the required time.
- Cooling time is as important as fusing time. Let everything cool completely before handling.
Once the interfaced fabric is cool, check the bond. First, try to pull the layers apart. Next, roll the interfaced fabric over your hand, then fold it half. When you do this, make sure you are satisfied with the way it looks and the way it feels.
If You’re Not Satisfied With The Results, Here Are Some Things To Try:
- Go through the entire fusing process twice, first on the wrong side and then on the right side of the garment section.
- If you need more pressure, try lowering your ironing board. You’ll be exerting more pressure as you lean over.
- Instead of buying exactly the amount of interfacing that the pattern calls for, buy several yards of varying weights and types. This way, if your first choice doesn’t work, you’ll have others on hand to experiment with.
FUSE HINTS
The bond between a fusible interfacing and the fabric is intended to be a permanent bond. We recommend test fusing to be sure you will get the result you want in the completed garment.
First, remember this all important combination of elements for successful fusing:
To Test The Fuse
Step 1.
Iron setting – Wool and Steam (irons vary – you may need to set yours higher or lower to find the proper fusing temperature.)
Step 2.
Use downward pressure for 10-15 seconds each position. Do not glide iron back and forth, but lift and press.
Step 3.
Effect of heat and pressure squeezes softened resins into fashion fabric.
Step 4.
Some moisture is needed, never soaking wet. Press cloth dampened or misted only.
Step 5.
Cooling time is as important as fusing time – Let cool completely before handling.
Step 6.
Record and file your test results – even the rejects – for future reference.