Petite Pattern Adjustments
Did you know our patterns with the “petite” label aren’t ONLY for petite heights? The label actually means they include easy fold lines to shorten pattern pieces for petite adjustments.
Do your garments seem to long in places but you aren’t sure where to adjust for a more petite fit? Sewists of the same height can find that a bodice, skirt, trouser, or sleeve can all be too long for them due to their specific body measurements This doesn’t mean you will need a petite fix for every garment but may affect your bust, waist and hip positions on a finished make.
It’s helpful to know what height and bust your pattern was drafted for before getting started and make a toile to check the fit before moving on to precious fabric.
Our patterns are designed for a 5’5″ to 5’6″ (165cm to 167cm) height. The Misses’ size range are made for a B cup with 2″ (5cm) difference between bust and high bust measurement. And our Women’s size range (for fuller figures) are made for a C cup with 1″ (2.5cm) difference between bust and high bust measurement.
QUICK FIXES
Lengthen/shorten lines
Sometimes the easiest way to adjust a sleeve, skirt or trouser pattern is shortening at the hem line. There’s nothing wrong with using that as a quick fix but you may find it doesn’t always work.
It’s better to use the “lengthen/shorten” lines, included as standard on the tissue. These can be slashed and spread, or folded, to adjust for height.
For example if you find the rise of your trousers aka the length of the centre front seam too long, you can remove height using the fold lines provided. Ensure you remove the same amount of height from the front and the back so the side seams still line up.

This approach works on skirts, most bodices below the bust, and sleeves below the armhole.
Our Petite Fit pattern range, indicated by a “petite” label on the envelope front / note on the envelope back, have more prominent fold lines for common petite adjustments. This makes them suit a 5’2″ to 5’3″ (157cm to 160cm) height.
Last but not least, read my guide to blending pattern sizes for extra support.
TAILORED BODICES
Bodices can require extra steps to fit the chest, neck and arms. Compare measurements of yourself to your tissue pattern to see the big differences. Start at the shoulder and measure down to the bust point (indicated by a crosshair on the pattern piece). Then take your bust point to waist position measurement. Also record your shoulder length, and high bust measurement.
Bust adjustments
The best starting approach is to pick a pattern size that fits best around the neckline, armholes and high / upper bust and then adjust from there. If you’re bigger than a B cup, choose the pattern size based on your high bust measurement and then use a full bust adjustment to add the room you need back into the full bust area.
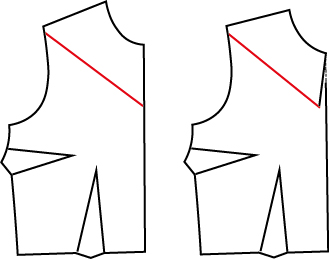
Narrow shoulders
Next decide if you need to apply a narrow shoulder adjustment to ensure sleeve seams sit in the correct place. You will not need to adjust the sleeve for this fix, only the armhole – But you may find you also need a small bicep adjustment if the sleeve is too baggy.
Mark the armhole seam allowance. Draw a line from the centre of the shoulder to centre of the armhole (Hinge point 1). Drawing at 90 degrees, mark a line from the corner of the shoulder to your new line, the corner will be hinge point 2. Slash the line down through the shoulder to just before the armhole hinge point 1. Then snip the seam allowance in the armhole up to hinge point 1. Finally slash up the second line, stopping a couple of millimetres short of the corner / hinge 2.
Overlap your tissue at the shoulder line, this will cause hinge point 2 to open and the armhole curve to change angle. The small snip you made in the armhole seam allowance at hinge point 1 will also open to help the paper move.

Tape everything down and fill in any gaps with spare paper.
Hollow chest
Still have excess fabric above the chest? You may have a sunken or hollow chest that isn’t filling the garment.
Draw a line from the corner of the shoulder and armhole to the position where the fullness needs to be removed. Slash on this line. Overlap the cut edges to the required amount and tape. Redraw the centre front.
PETITE PATTERNS
Discover our Petite Fit collection! With 99 Petite Sewing Patterns we have a whole range of garment styles.
-
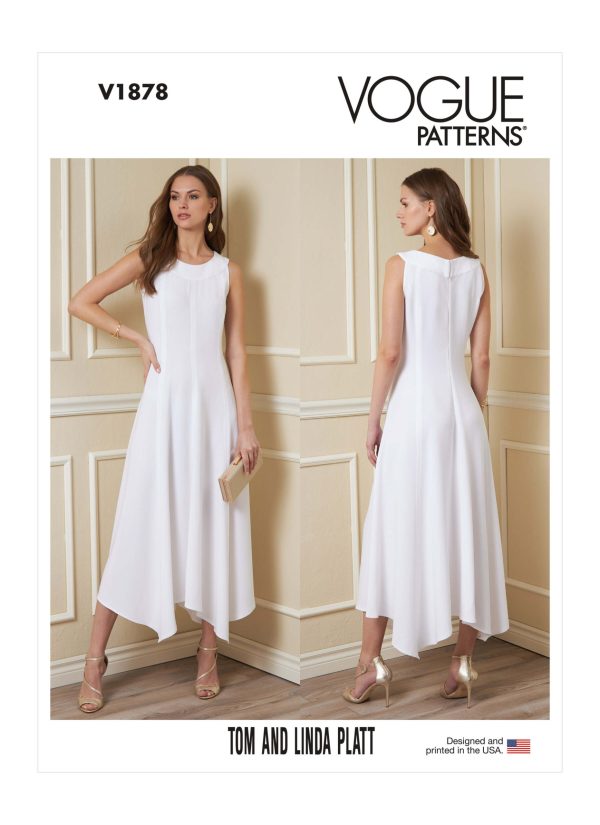
 Vogue Patterns V1878 Misses’ and Misses’ Petite Dress by Tom and Linda Platt
 -
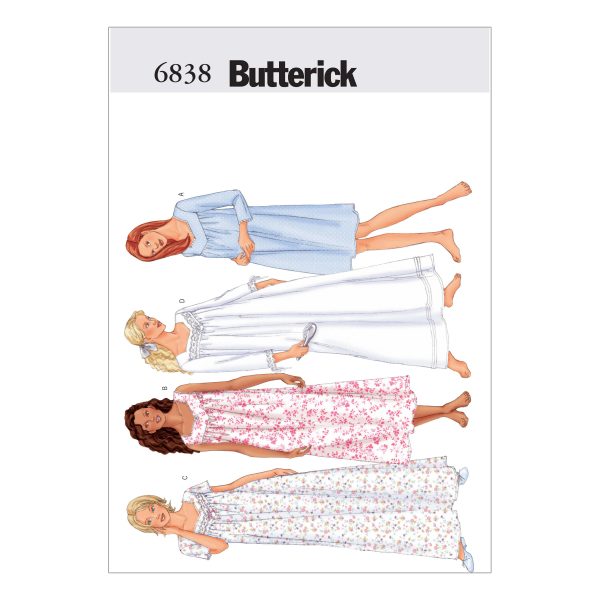
 Butterick Sewing Pattern B6838 Misses’/Misses’ Petite Nightgown
 -
Vogue Patterns V1869 Misses’ and Misses’ Petite Top and Trousers
-
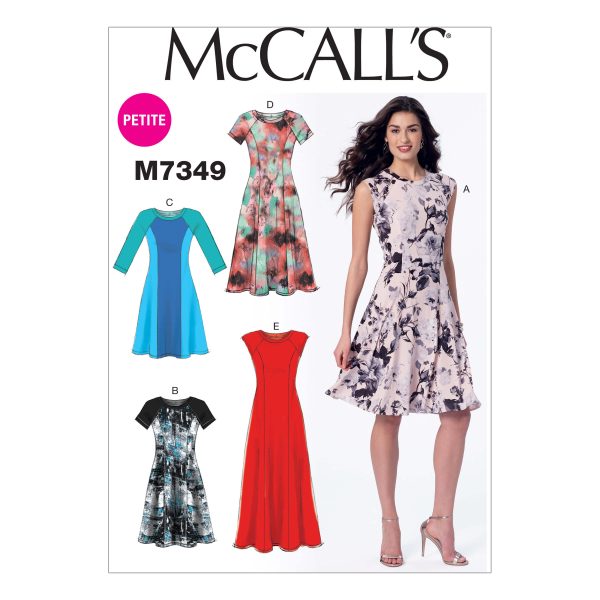
McCall’s Sewing Pattern M7349 Misses’/Miss Petite Sleeveless or Raglan Sleeve, Fit and Flare Dresses
-
Butterick Sewing Pattern B6743 Misses’/Misses’ Petite Gored Skirts
-
McCall’s Sewing Pattern M7920 Misses’/Miss Petite Dresses and Belt
-
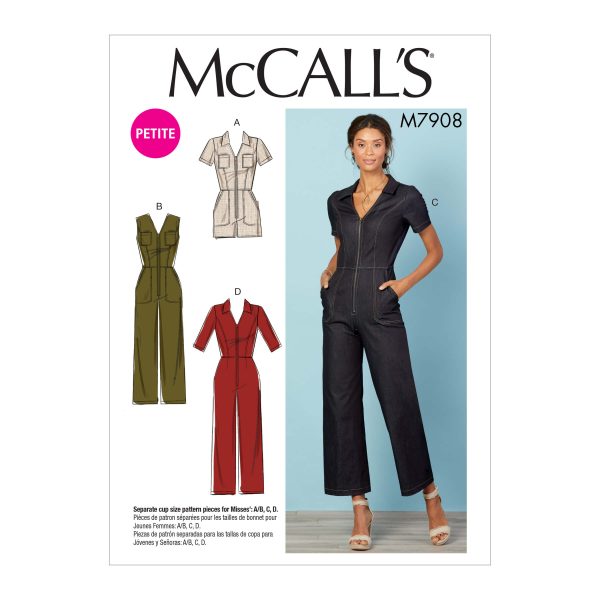
McCall’s Sewing Pattern M7908 Misses’/Miss Petite Jumpsuits
-
Butterick Sewing Pattern B6602 Misses’/Misses’ Petite Jacket
-
McCall’s Sewing Pattern M6800 Misses’/Miss Petite Lined Coats, Belt and Detachable Collar and Hood
-
Simplicity Pattern S8545 Misses’ and Petite Dress and Top
-
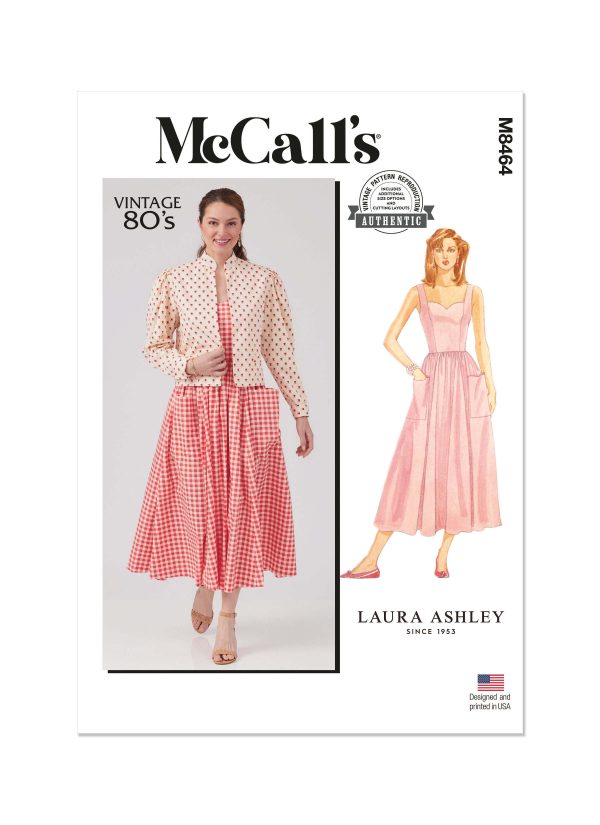
McCall’s Sewing Pattern M8464 Misses’ and Miss Petite Lined Jacket and Dress by Laura Ashley
-
Butterick Sewing Pattern B6720 Misses’/Misses’ Petite Coat, Jacket & Belt
-
Butterick Sewing Pattern B6799 Misses’ and Misses’ Petite A-Line Bias Skirts
-
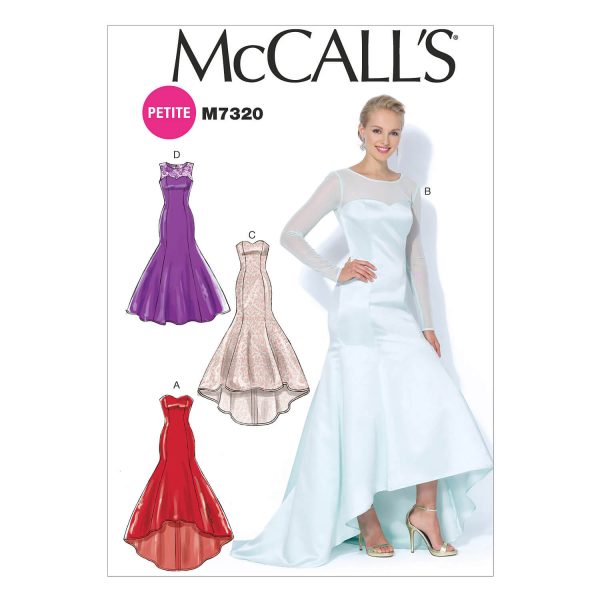
McCall’s Sewing Pattern M7320 Misses’/Miss Petite Mermaid-Hem and High-Low Dresses
-
Simplicity Sewing Pattern S3074 Misses’ and Miss Petite Jacket, Shorts and Trousers
-
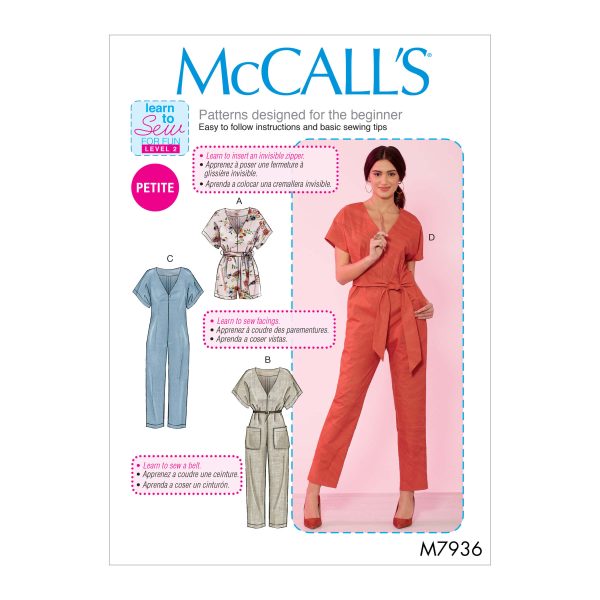
McCall’s Sewing Pattern M7936 Misses’/Miss Petite Romper, Jumpsuit and Belt
-
Butterick Sewing Pattern B6678 Misses’/Misses’ Petite Dress
-
McCall’s Sewing Pattern M6124 Misses’/Women’s/ Petite Shirts In 3 Lengths
-
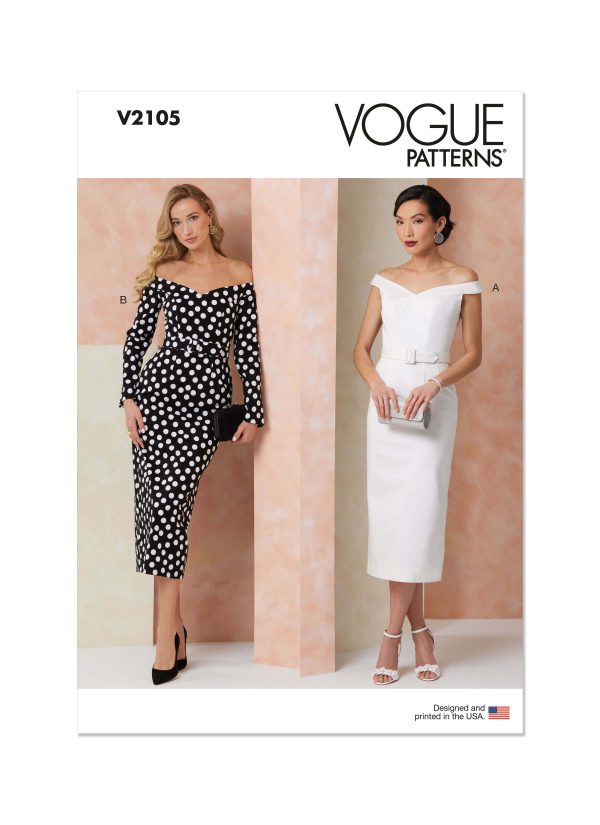
Vogue Patterns Sewing Pattern V2105 Misses’ Dress with Petite Lines and Belt
-
Butterick Sewing Pattern B6751 Misses’/Misses’ Petite Pullover Tops