Perfect piped collars
A pair of piped pyjamas never fails to bring a smile to my face. They’re a timeless style and a great technique to practice. I often get asked how to nail the intersection of a piped notched collar so here are some helpful tips.
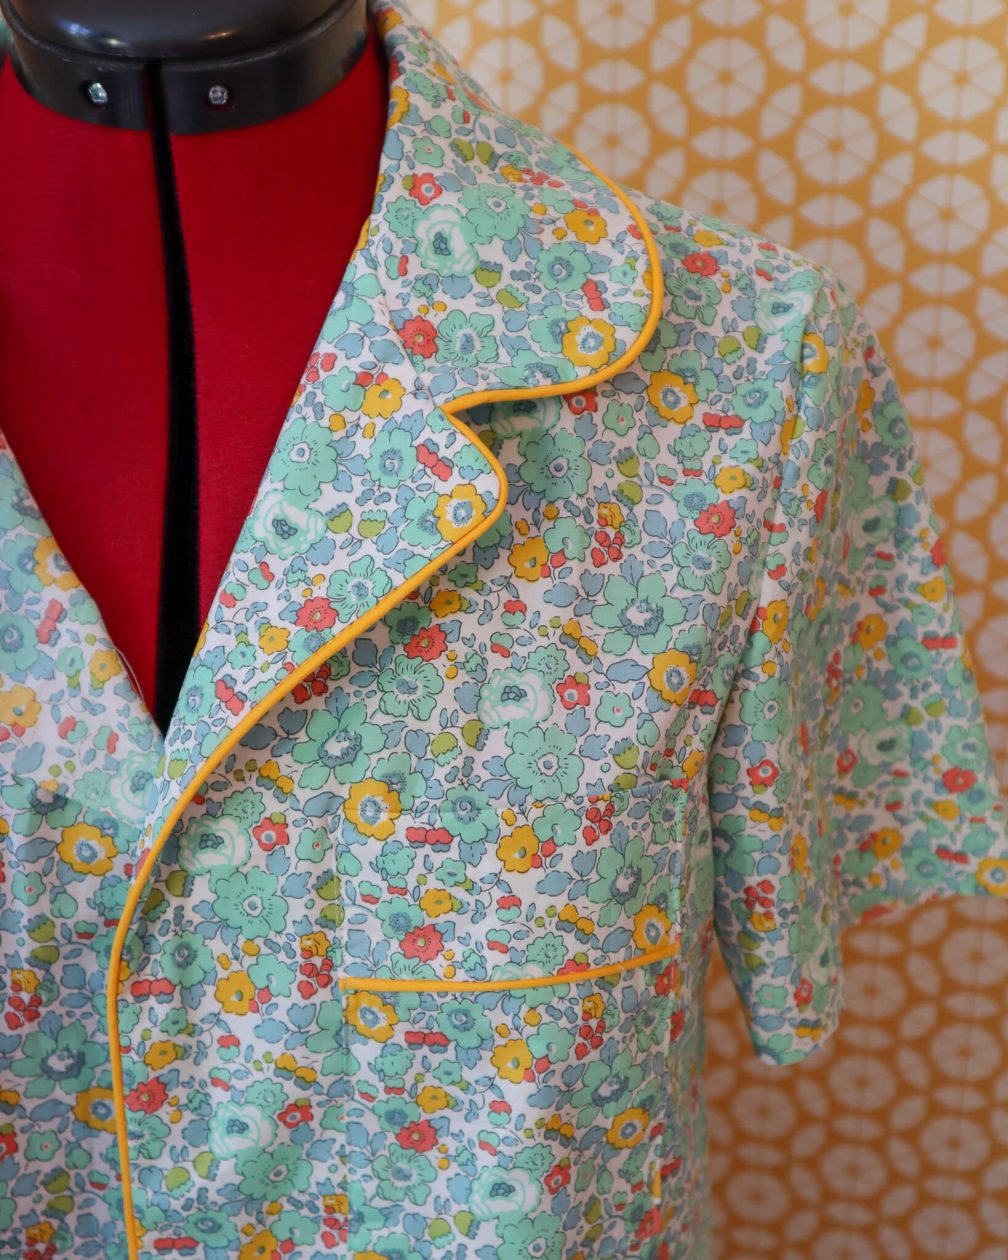
I’m using McCall’s 8056 which includes a three piece sleep set of top, bottoms and dressing gown. There are bust and back darts to add shape to the top and the pull on bottoms feature a simple elastic waist. The pattern includes illustrated guidance for piping but sometimes it’s easier to see on a photo tutorial right?

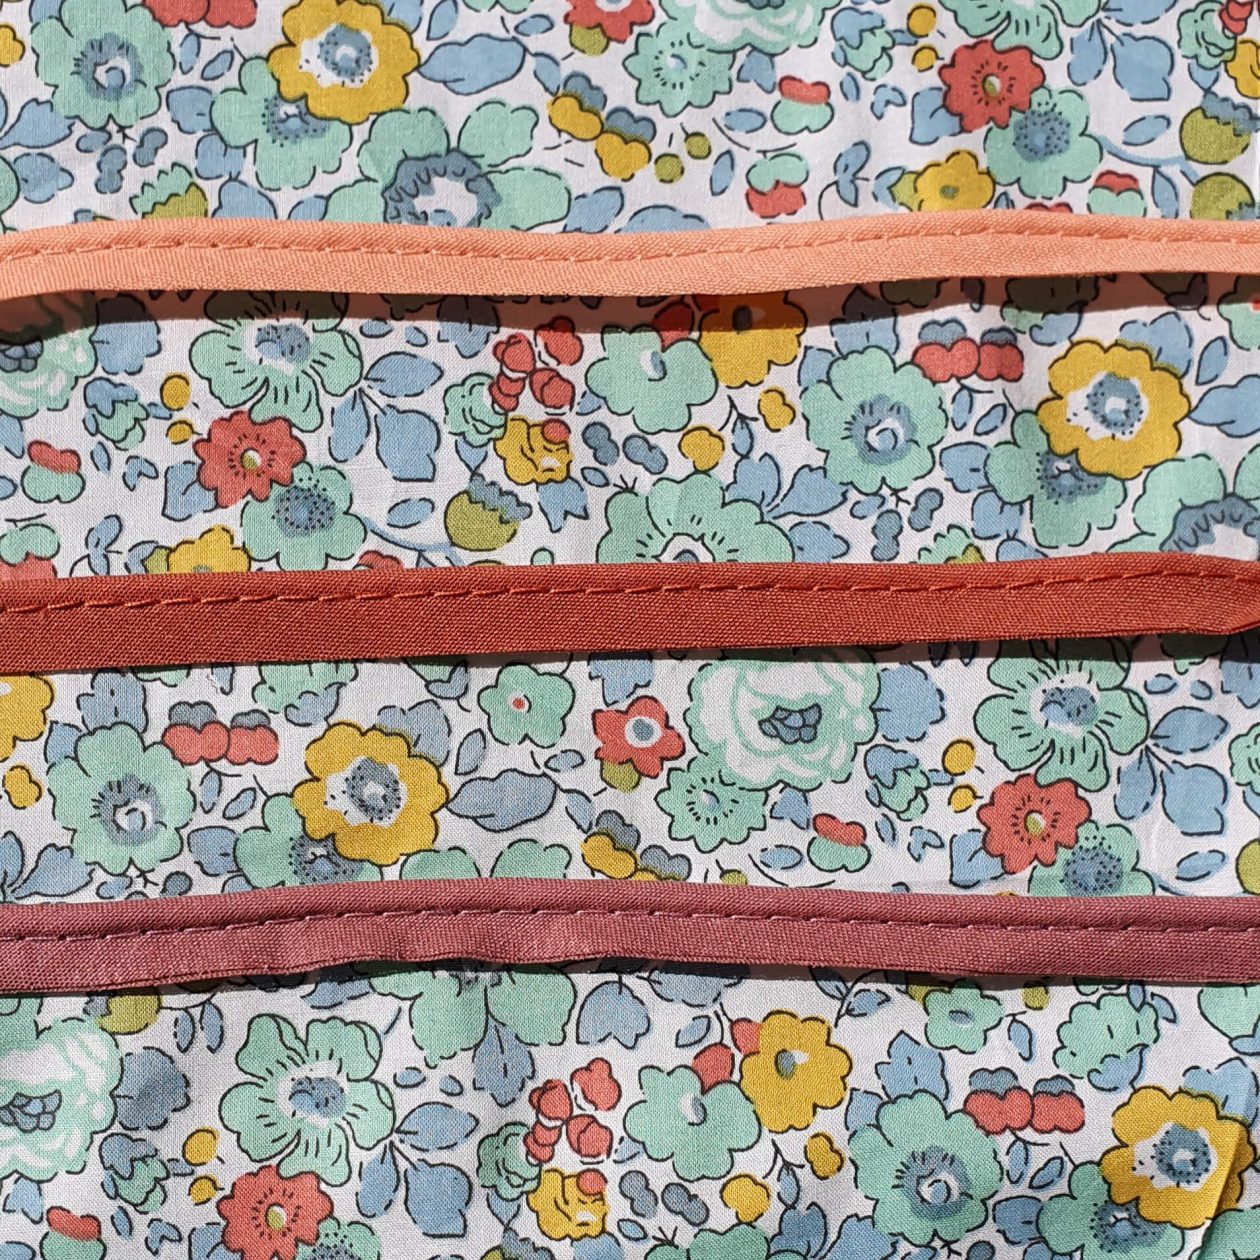
For this tutorial I’m using shop bought piping in a 2mm width. It has a flanged edge 1cm wide to help me stitch it in place. You will also see a stitch line where the piping has been assembled which is very helpful for positioning the piping on your fabric.
The first step preparing your bodice fronts and front facing pieces. I mark the stitching line on the RS in water soluble pencil as well as the centre front and notch that indicates where the collar pieces meet.
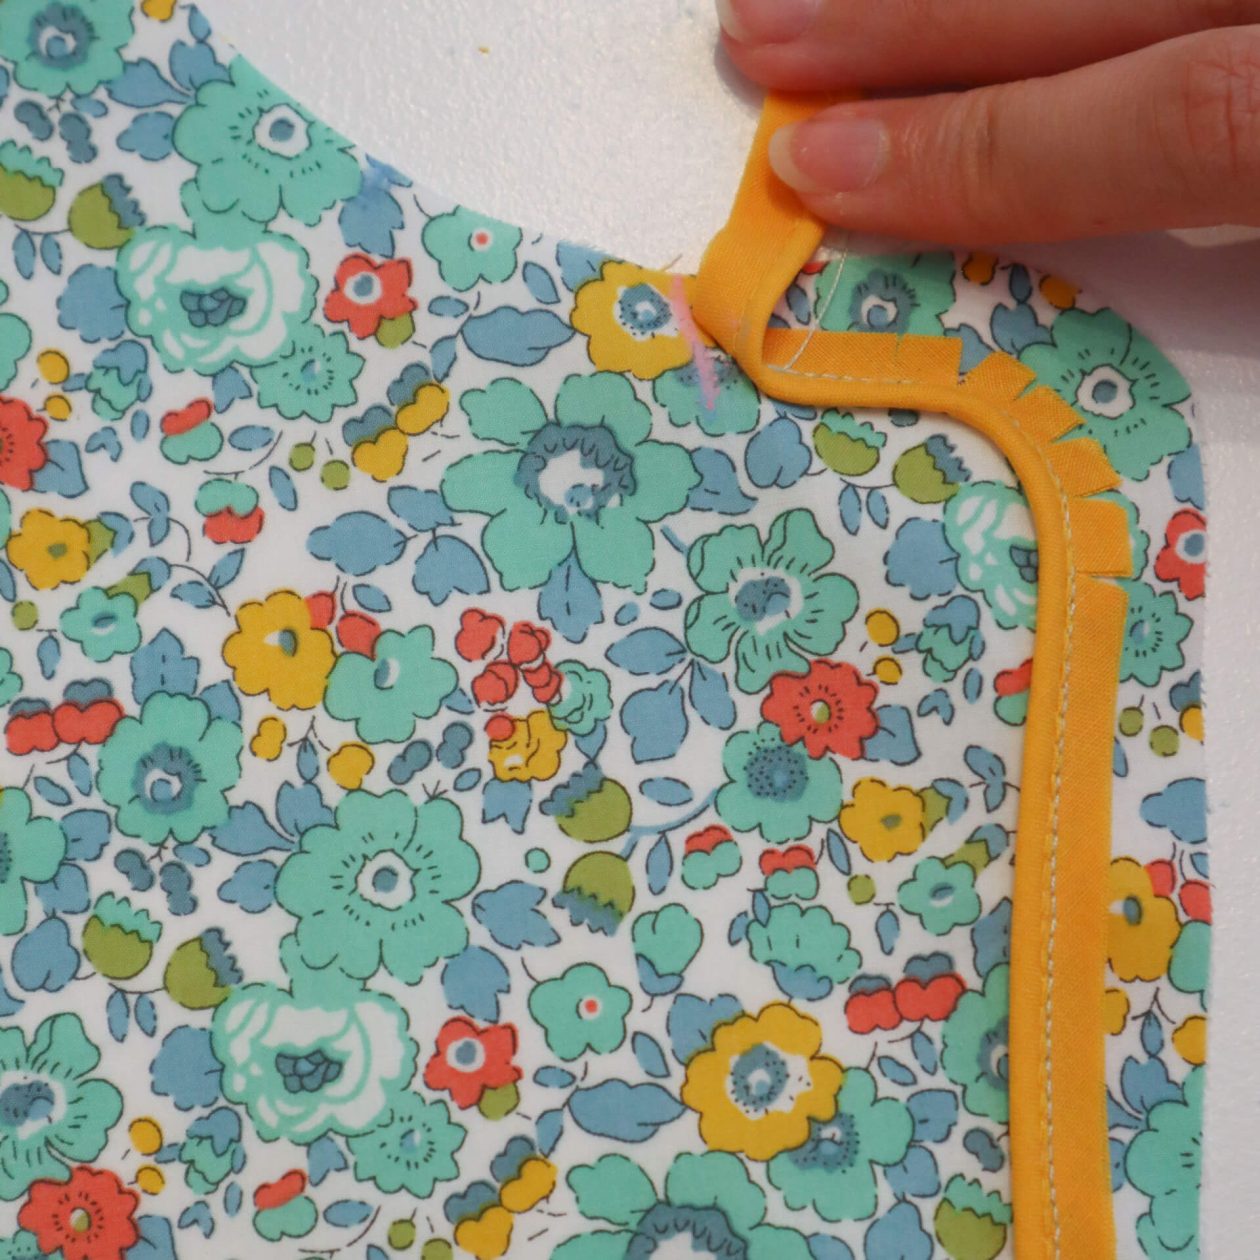
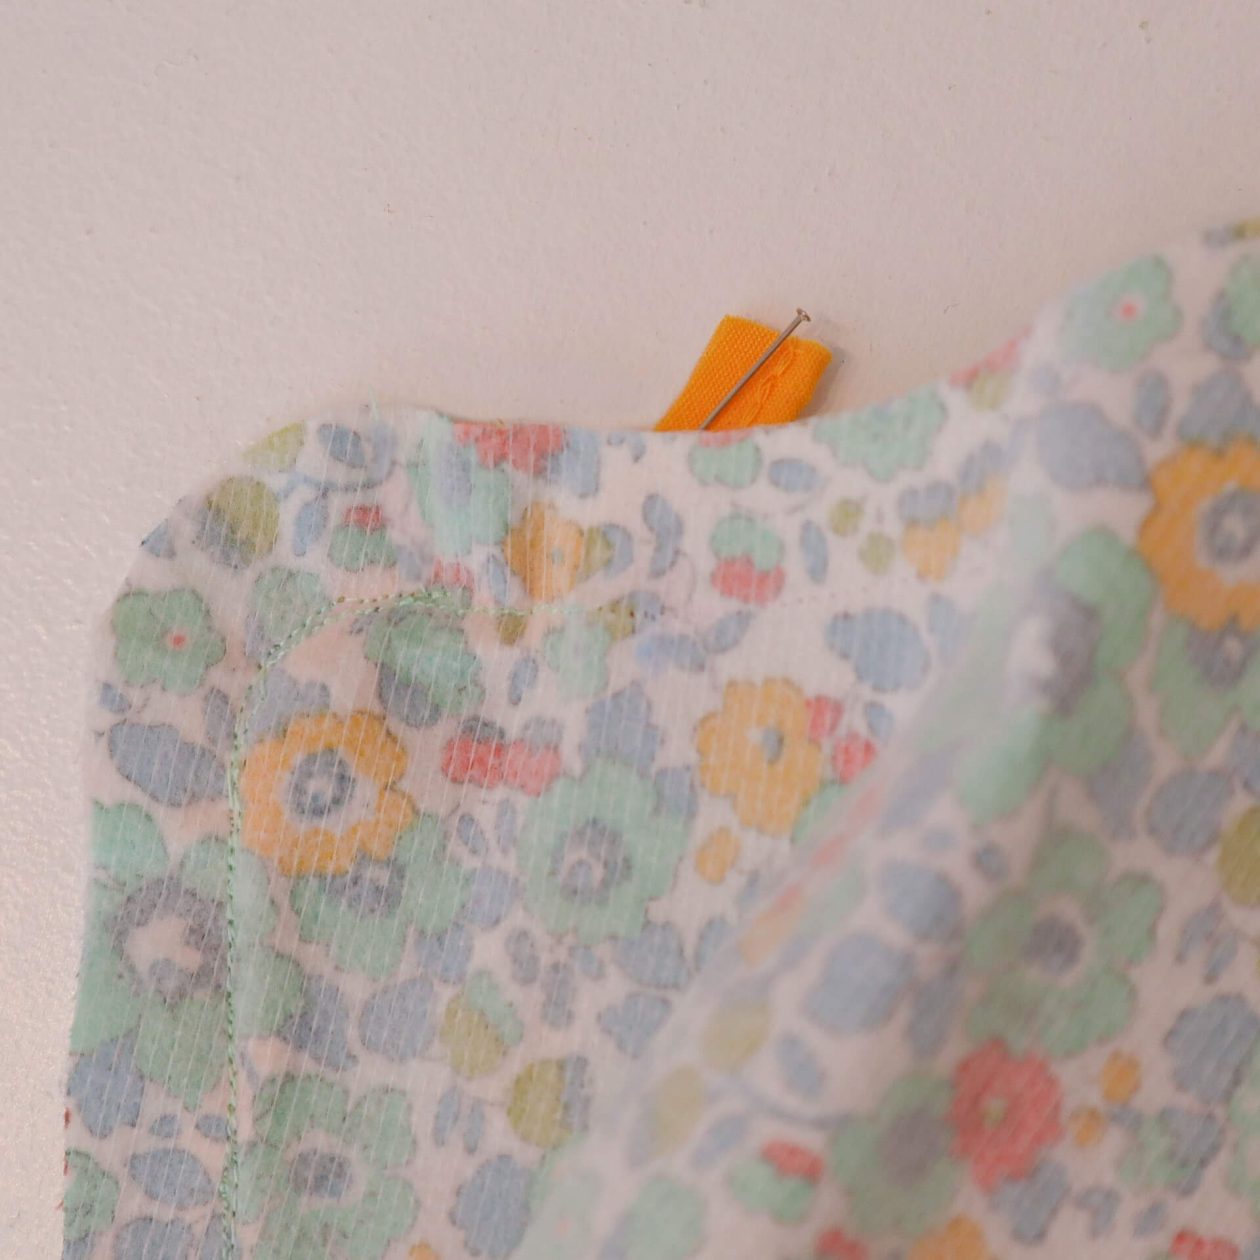
Next you will pin the piping in place on the bodice front so that the stitching line on the piping sits on top of your marked line and starting just past the notch. You can see I’ve snipped into the flanged edge to help me get around the corner, taking care not to cut into the stitching line of the piping. You will machine baste this in place using your zipper foot aiming to get relatively close to the existing stitching line on the piping. But don’t worry too much if you’re not right on top of it for this first pass. Start stitching just beyond the notch point! This will give you a little wiggle room that’s helpful later. Using a zipper foot helps you stay on track as the ridge on the foot will follow the edge of the piping.
ASSEMBLE THE COLLAR
Repeat this process for your interfaced collar piece around the lower edge. Then pin your un-interfaced collar piece on top. If you have the option on your machine, move your needle over a couple of positions to get closer to the piping on your second pass. Notch and grade the seam allowance by first cutting it down to half the width, then cutting triangle shapes out of the seam allowance around the curves to reduce the bulk. I like to use a pair of pinking shears on gentle curves! Sew your collar in place on the bodice neckline with a basting stitch following the instructions.
INSTALL THE FACING
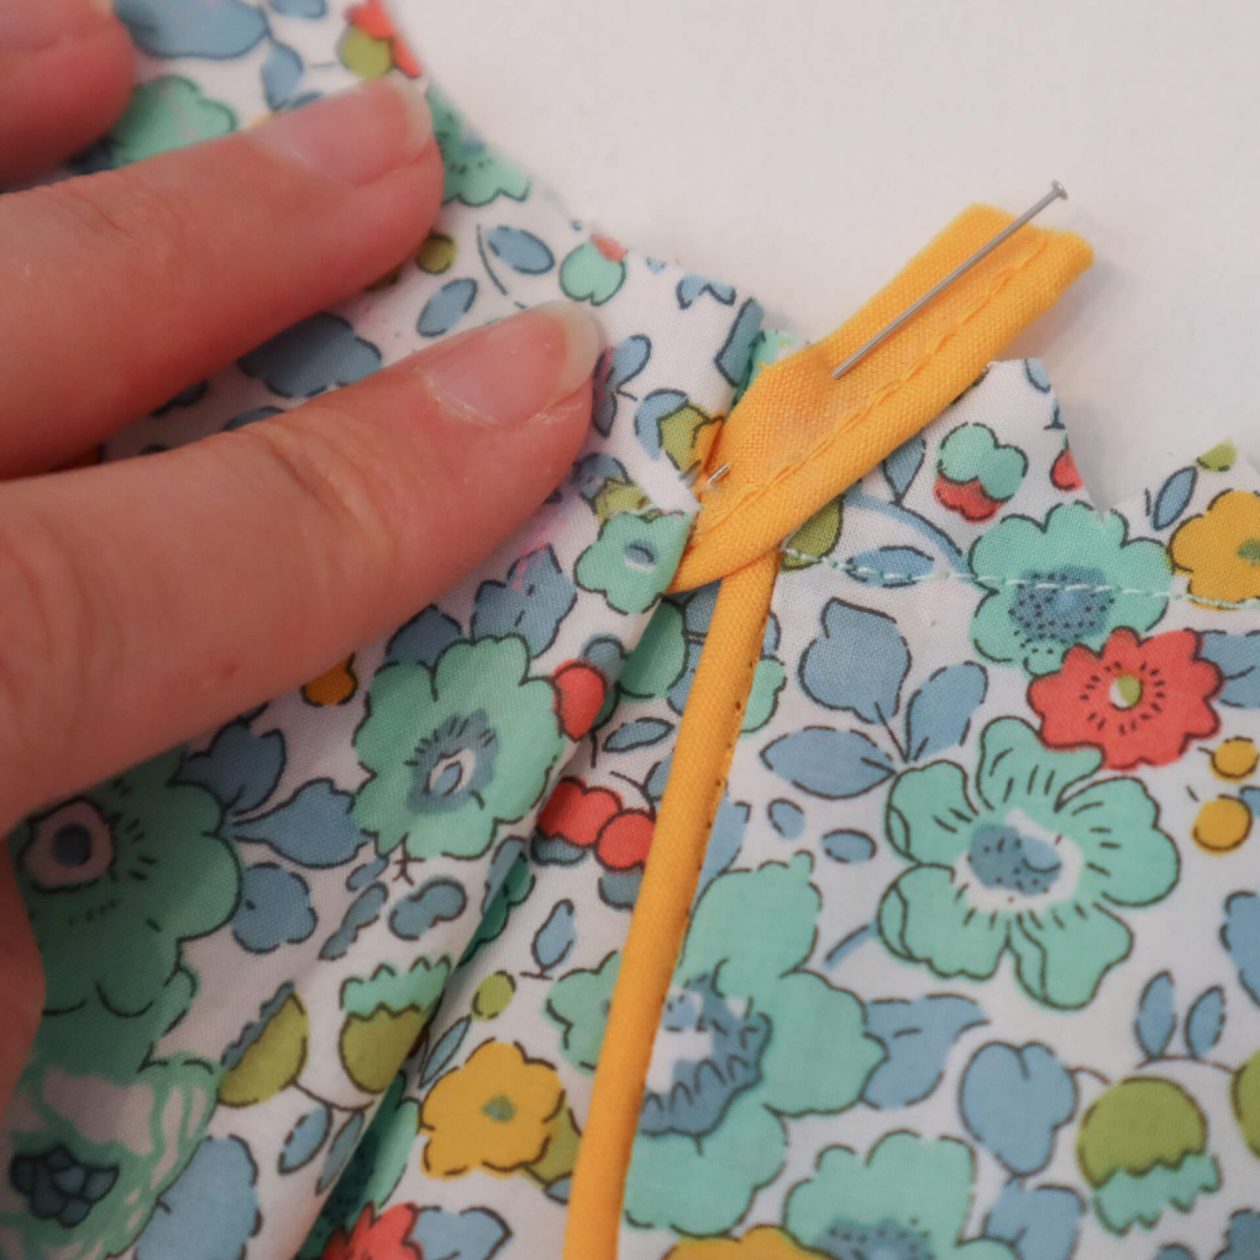
Now pick up your facing! This could be two separate facing pieces if using M8056 or a series of front and back neckline facings sewn together into a single piece for other patterns. Place it on top of your bodice front, matching the curved edges. Pin then sew the layers together, starting 1.5cm away from the marked point where the collars meet. Back stitch at that point. Here you can see I’ve folded back the facing at that point and I now have a clear view of how to position the tail of my piping that is attached to the bodice front. By sewing the majority of the seam, nothing will move as I manoeuvre the piping into place. Curve the piping upwards ensuring that the stitching line on the piping falls along the seam line you will sew and then sharply curve off at the edge of the collar piping. Pin the piping tail in place.
Fold down the facing so it once again covers the bodice front and collar and continue the line of stitching past the marked point where the collars meet and around the neckline as instructed by your pattern.
Trim and notch the seam allowance then turn through to the right side! Voila! A neat intersection of piping.